Climatescape
17 Dec 2019 - Jake Sherwood
 Climatescape kinetic art installation
CLIMATESCAPE
Climatescape is a kinetic art installation meant to raise awareness on climate change and the human effect on the climate.
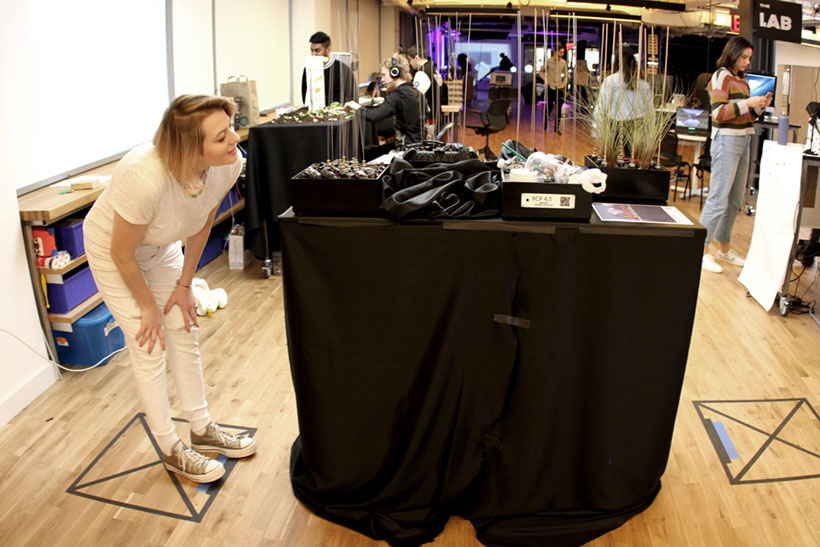 Climatescape user interaction
Climate change is happening. Some think we’ve already gone too far.
We need to make a concentrated effort to about face immediately. A dramatic shift on current climate policy and swift action is no longer an option, it is mandatory. The time is now and it may be running out, if it hasn’t already.
ClimateScape is about bringing awareness to the human effect and how we are affecting climate change. The four soundscape sculptures represent 4 potential climate change scenarios known as Representative Concentration Pathways, or RCPs.
They are scenario models for forecasters to use when modeling certain climate related metrics.
As the sculptures are approached they engage with the viewer and create a sometimes uneasy soundscape representing one of these scenarios. Illustrating the human effect and how we are influencing these changes.
The sculptures also have a representative material, representing a current and / or future sector that is or will be playing a role in climate change.
We are the human effect and we cause the ClimateScape.
It is up to us to right the ship. We as artists must bring continued awareness. We as humans must act.
For more info visit the Climatescape microsite.
Final Fabrication and Winter Show
Showing at the 2019 ITP Winter Show was a great experience. Climatescape was well received and the feedback was great. And nothing broke!!!
It wasn’t easy and took many many many hours to get there. Let’s review…
For further backstory please see my previous posts on this project:
Initial concepts
Progress update #1
Progress update #2
After the second round play testing, I decided that it would be a better interaction if the 4 sculptures initialized and spun up only as a user approached. Instead of always spinning at a resting speed as it was programmed previously.
This would both provide a better user experience and also help to reduce the heat build up.
Updating the sketch to handle this was relatively easy. To further handle heat issues, I also added a cool down function to stop the sculptures after 10 seconds. The logic will stop any of the motor arrays I set it up on and make it wait 20 seconds before it can spool up again. For the show I was just running it on the worst case (RCP 8.5) scenario. As those created the most heat when ran for long periods of time.
Also from the show one of the biggest issues I had, was varying clothing layers and individual body temps. To attempt to handle this I updated my sensor thresholds to be variables I can easily set at the top of the sketch. This allowed me to quickly change the values throughout the show.
It worked for the most part but the variable lighting and temperature conditions at the show still presented a challenge. In the future I’d like to add potentiometers to be able to adjust more easily.
Here is the code I ended up with. It still needs to be cleaned up a bit. climatescape code
Getting the fabrication from 2nd user / play test to final presentation / show ready was the bigger challenge.
I still needed to figure out how to get everything wired up, mounted and contained in my enclosure.
I also needed to figure out how to make sense out of the mess I had created.
4 sculptures
4 transistor arrays
4 sensors
5 power supplies
& a whole lot of dc motors
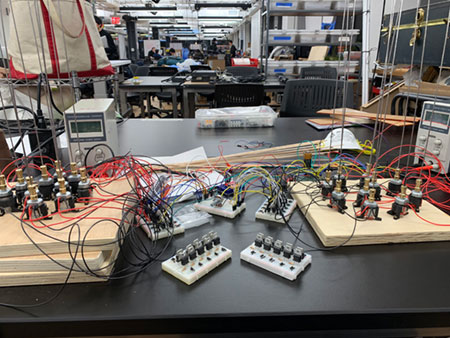 early fabrication components - only half the mess
Single transistor array to control 10 motors. This array would let me power higher voltage motors and protect my micro controller from back current.
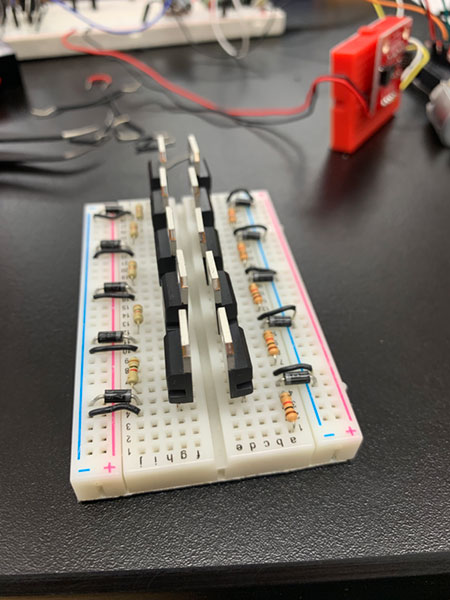 transistor array for 10 motors
I also needed to created my RCP plaques for the front of my enclosures, source my representative materials and put everything together.
First things first I needed to paint my boxes.
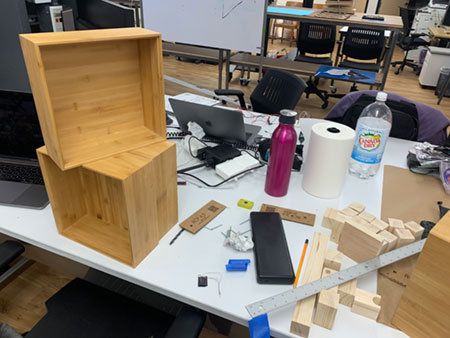 unpainted enclosure boxes
Luckily the downstairs shop recently opened and I was able to go use the spray booth. Instead of having to find a dark street corner somewhere.
The only downside was that I then had to wait for the boxes to dry which ended up taking almost a full day. That delayed things a bit, but I still had plenty to do.
I wanted the front of the enclosures to be pretty clean so I laser cut some white acrylic and used the sharpie trick to color the etched parts.
I also wanted a way for the viewers to get more info on the project and learn more about the RCPs. So I added a QR code to the acrylic.
It turned out really nice and the microsite is here.
 sharpie trick on white acrylic
Now back to fabbing…. my boxes finally dried….
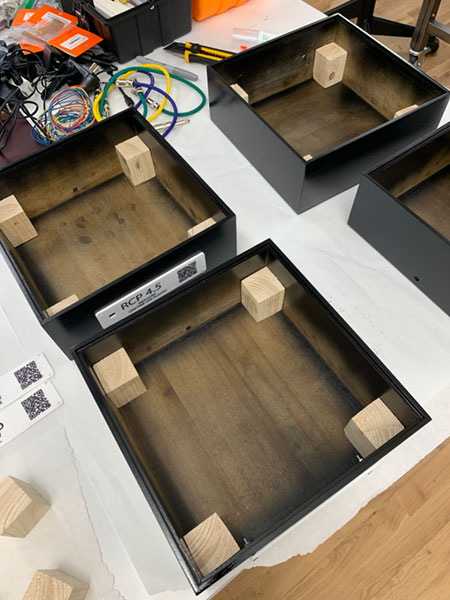 painted enclosure boxes
Once my boxes were painted I was able to put the support blocks in and get ready to start wiring everything up.
The plan was to put the majority of the wiring and components under the motor array platform.
This would allow me to have a nice clean project but still be able to access everything for repairs and tweaks.
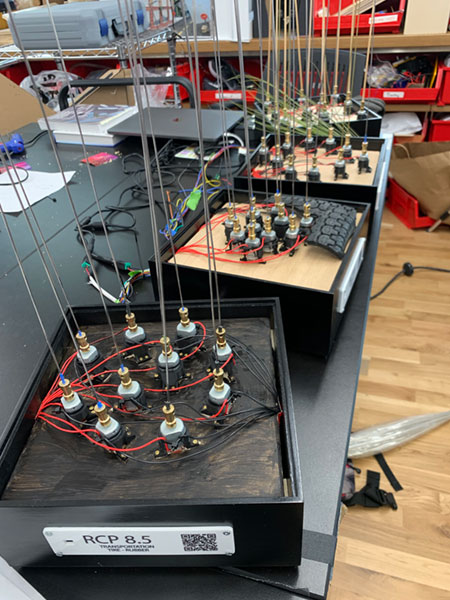
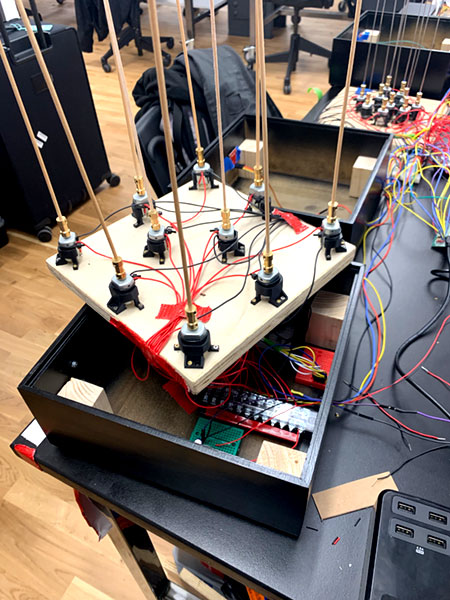 wired enclosure
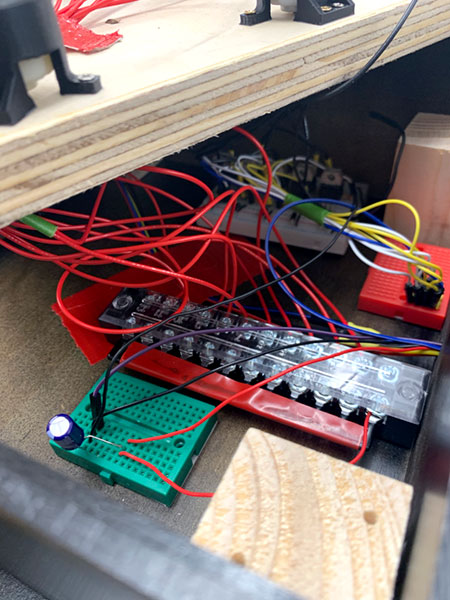 wired enclosure close up
Wiring up the enclosures was stressful. I basically had to unwire everything and re-wire it. Lot’s of oh sh@t and what’s broken now moments…
Once we were all wired up I could see the light at the end of the tunnel starting to shimmer.
Even though I still had a good amount of work to do, I felt close.
I still needed to source the remaining representative materials as and finish making it all look pretty.
I also decided last minute to stain the motor array bases. This would have been way easier if I had made this decision before I mounted and wired everything.
 staining motor array bases
Once stained, it was really down to the finishing… but I still had to cut up my tire. Fortunately my wife had found these small size tires on the side of the street and they were relatively easy to get into.
 cutting tires
After cutting up the tire it was all down to making things pretty. It went relatively smoothly and I had my four soundscape sculptures.
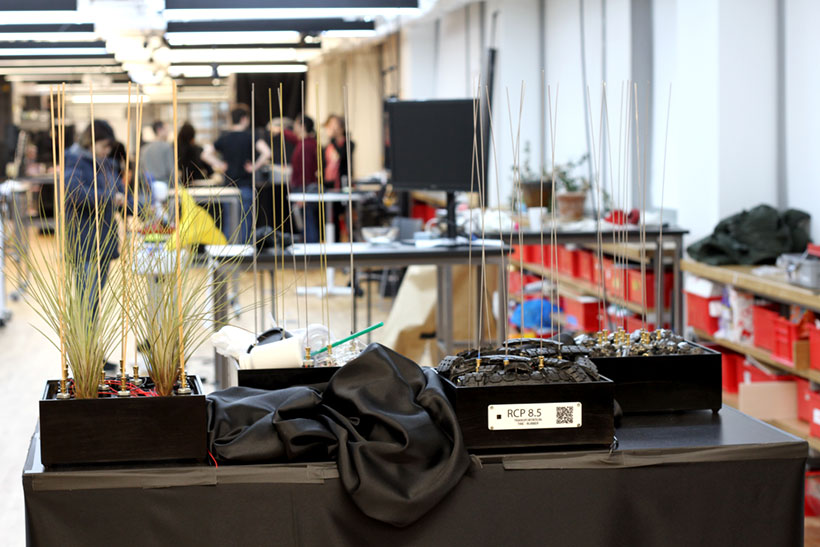 Climatescape ITP winter show setup
Climatescape Video