Laser Cutter
24 Sep 2019 - Jake Sherwood
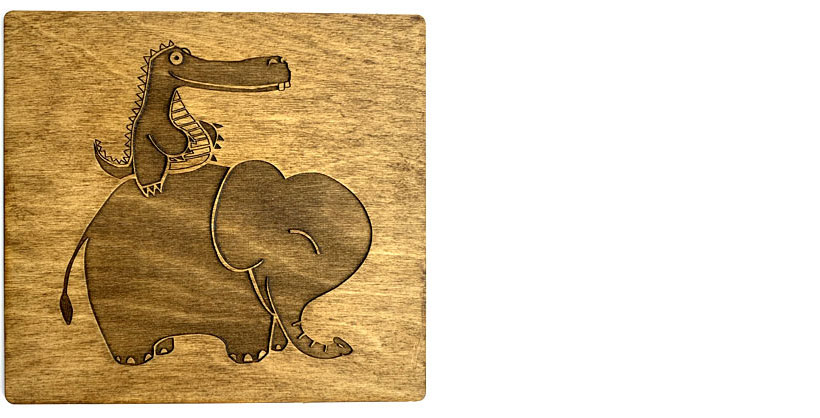
Laser etched Alligator and Elephant
Intro to Fabrication WEEK 3 - Laser Cutter
The assignment for this week was to familiarize ourselves with the laser cutter.
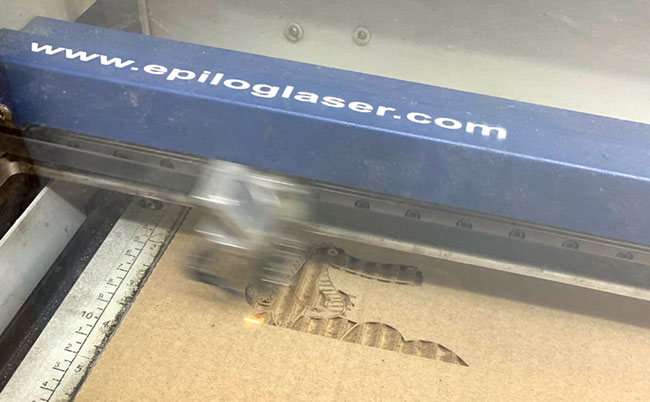
prototyping with laser cutter
This was supper cool. I had never used the laser cutter, so I was excited to learn something new. The laser cutter is magic… but on the advice of my professor I’m trying not to fall in love.
I was at the right place at the right time and the scrap pile on the floor came through. I was able to source cardboard, wood, & acrylic.
I guess I didn’t learn my lesson from last time and still used found materials, but these seemed pretty good…
Materials Used:
found wood
found cardboard
found acrylic
water based stain
Inspiration:
I decided to start with an existing .ai drawing I had. It was a mural I did for my son’s room in LA. And thought it would be nice for him to have a smaller version in his room here.
Process:
Our professor mentioned that designers with pre-existing knowledge of Illustrator might actually have a harder time.
This was the case for me.
The most time consuming part was re-making my existing file to not have any overlapping shapes. I also went back to the file numerous times, (thank god for prototyping) to make sure all the elements were spaced out enough to look good when etched.
Here is a quick gif of reworking the .ai file
reworking illustrator file
Since I had so much back and forth with the file I did lots of prototypes. LOL
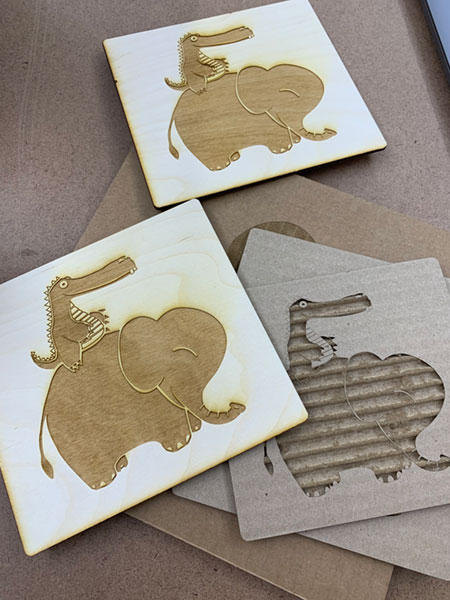
various material prototypes
I had a few cases where I needed to adjust the speed and power settings but mostly for my materials the baseline settings were pretty on point. I did have to run the cut / vector jobs a few times so maybe making those slower in the future would prevent excessive scorching.
I wanted to do build a box frame for this but my professor said I should wait until we go over enclosures.
To finish this up a bit more, I stained my final wood version. The timelapse below is actually a test on a previous version with some drawing mistakes.
stain test
Mistakes / Hiccups:
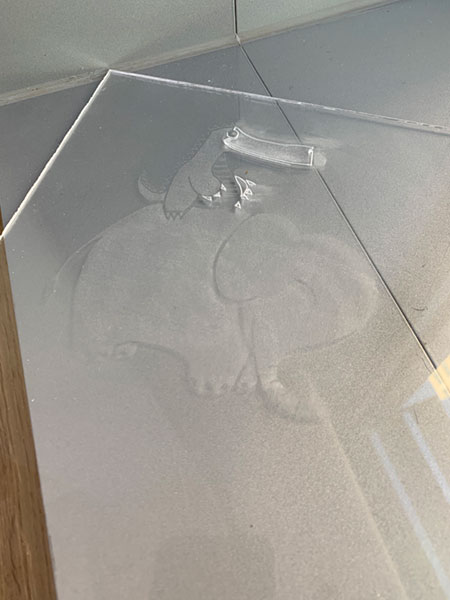
acrylic vector mistake
Oddly enough after running the file 4-5 times on different materials, when I ran the vector run on my acrylic sample it started cutting all the lines not just my 0.1 stroked lines. ARG! I guess it’s not a match made in heaven after all.
On the advise of shop staff on my next attempt I turned off my raster layers and everything worked out.
Here are 3 different material prototypes. It’s hard to decide which one I like most..
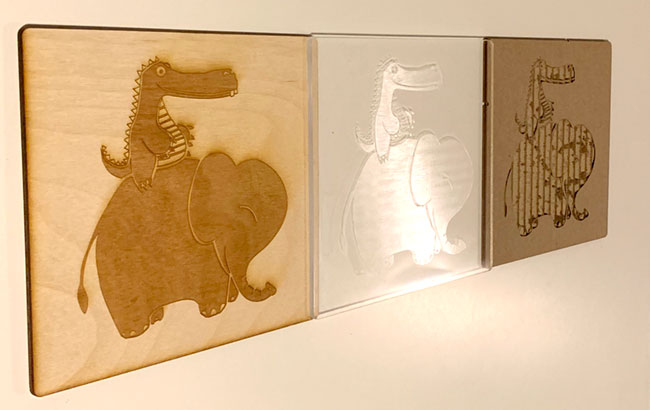
3 etching prototypes
laser etch on wood timelapse
Final Stained Version
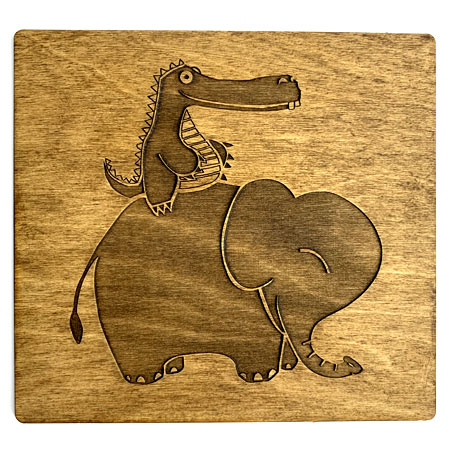
final stained etch
Lessons Learned
1)Make sure to space out drawing / design properly for good spacing when etching.
2)When cutting its a good idea to remove / hide the etching layers.
3)Adjust speed and power for cutting to prevent excessive scorching.
I’m happy with these but want to make some sort of box frame for them and maybe illuminate them some way.