Introtofab Flashlight
10 Sep 2019 - Jake Sherwood
flashlight star top fly by
Intro to Fabrication WEEK 1 - Build a flashlight
Our first assignment for Intro to Fabrication was to build a flashlight which sounded really fun to me.
In class we spoke about getting materials first and I really liked the idea of found materials.
I also had the idea of attempting to do a shadow light so I could play with it with my son.
After class, while eating a PB&J on the floor, it hit me like a tasty delight… the peanut butter jar would make a great housing for my light. And the top would allow for a twisting functionality to produce multiple shadows.
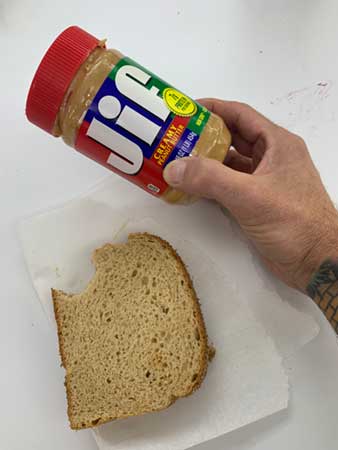
peanut butter and jelly sandwich and jar of JIF peanut butter
I found a few other items on the junk shelf.
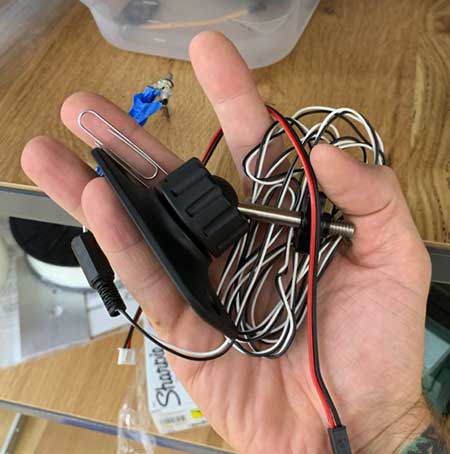
junk shelf finds - misc wires and potential switch pieces
I had an old flashlight and figured that would be a good source of a bulb. Also the reflective shroud added some stability to the battery lightbulb connection.
Inspiration:
My son has this toy light that makes sounds and lights based on animals, numbers, & words. He loves this one, but it was always strange to me that the lights, while associated with animals, didn’t actually have animal shapes in them. So I figured I’d attempt to make a simplified version that did.
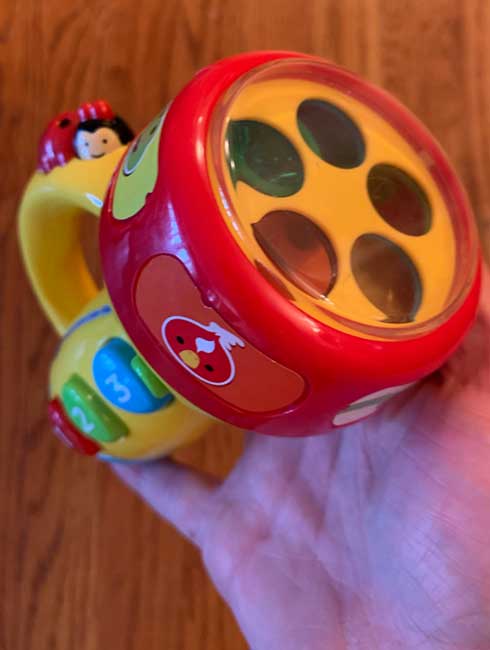
my son’s toy flashlight
I also read through numerous “build your own flashlight blog/sites”:
Energizer (w/ switch)
Quick and Easy
Kids - with cup cone (w/ switch)
youtube bottle light
McGyver Light Youtube - (simple)
Shadow flashlight
Constellation Ligh DIY
Penny powered
LEDs have positive and negative sides - WHO KNEW???
I had no idea that the LEDs had a positive and negative. After figuring that out I finally got some LEDs to work but subsequently burnt a few out due to not having resistors.
I decided to go for simple wiring and traditional incandescent bulb from the Energizer how to. I used a modified version of the bottle cap light for my switch.
Materials Used:
found JIF bottle(s)
found wires
found switch pieces
reclaimed incandescent bulb
reclaimed bulb shroud
reused cardboard
reused misc plastic
purchased 2 AA batteries
purchased misc paper supplies for shadow films
hot glue & super glue
electrical, gorrilla, & scotch tape
tinfoil
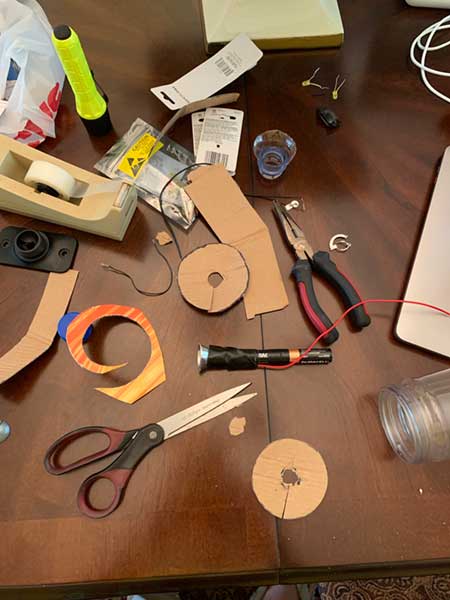
flashlight materials
Process:
First things first I need a functioning light. As mentioned above I blew out a few LEDs trying to get things wired up. I decided to go the simple route of just batteries, a wire, and incandescent bulb. That made wiring up actually pretty easy.
led bulb, 2 led bulbs, and incandescent bulb tests
Once settled on, I stacked the bulb, shroud, batteries, and completed the circuit with a piece of wire. Made sure everything had good connections and wrapped the various parts with electrical tape.
For my light housing I used my found JIF jar. To facilitate the switch I had in mind, I needed to drill hole in the bottom. I also needed a threaded end, so I cut the top off of a 2lt bottle and hot glued that to the end. That allowed from my turning switch mechanism which completed the circuit when screwed in.
flashlight wire test
housing image gif
As it turns out, the hardest part was adding the shadow light feature…
Issues I had:
1) Due to lens proximity, the space I had for light was small. Making drawing shapes for shadows difficult.
2) Aligning my holes with the light source and top threads to allow for all shadow images to rotate over light source.
3) For 3 holed top, only allowing one shadow to receive light at a time.
4) Unless light was diffused, I was getting weird light artifacts that I could not source.
5) Diffused light source doesn’t produce enough light to create shadows.
To begin, I drilled some holes with a traditional drill bit. I mistakenly didn’t align them evenly and then needed to source another lid. ITP floor to the rescue.
After much deliberation of correct hole placement and size, and on the advice of Ben, I used the step down bit to produce much cleaner holes. I used tape as register marks to make sure my holes would be in the proper location. After drilling, they seemed to line up as desired and I was ready to start making shadows…
shadow tests gif
First attempt paint markers on clear plastic. Seemed ok but had weird light that I was not clear on. And my drawings were pretty terrible due to size.
Second attempt printed vector shapes on paper. This diffused the light too much and produced no shadows.
Third attempt printed vector shapes on trace. Even with less diffused light, still no shadows.
Fourth attempt cut out shapes from paper to try to prevent light leak or whatever it was from attempt one. Still had weird light artifacts.
Fifth attempt cut out shapes from black cardstock attempting to prevent weird light…still happened.
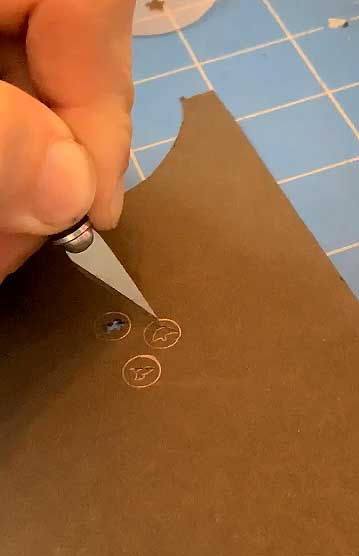
black cardstock shadow film
I then went to trying to black out the underside of the lid to further block any light that was escaping past my cutouts. No dice… still weird light artifacts.
After numerous attempts I decided to take a step back and simplify things. How about I just make one large shape in the lid to produce my shadows? Perhaps taking out the small multiple holes would prevent the artifacts?
Nope… still happened.
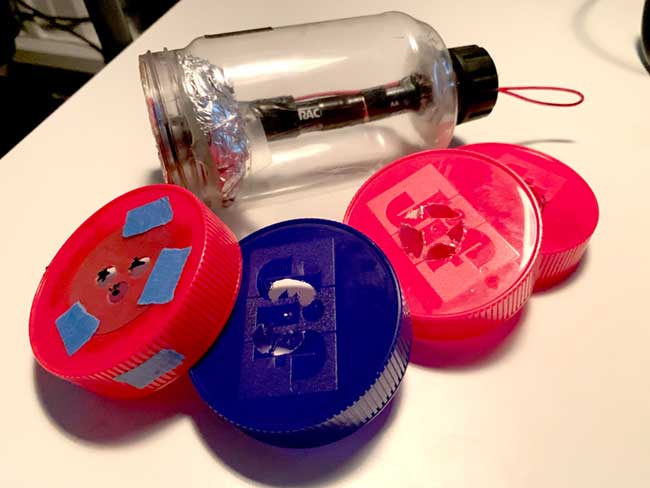
attempted shadow lids
After much testing I was able to produce less artifact by holding the lid about 12” away from the flashlight. I didn’t have time or enough empty peanut butter jars to troubleshoot this to come up with a solution. It did however yield some fun shadow making gifs.
shadow light dial w/ weird light artifacts, diffused light test, star shadow and the bat symbol
Overall I’m happy with the outcome. If anything it was a lesson in iteration.
And best of all… it is Jackson approved!
Jackson approved flashlight fun
p.s. sorry for the gif overload… I may have taken too many images :)