Enclosures
01 Oct 2019 - Jake Sherwood
Enclosures - The Gatorphantbox
Intro to Fabrication WEEK 4 - Enclosures - The Gatorphantbox
The assignment for this week was to build an enclosure. Ben had so many rad examples it was kinda hard to decide what to do. I had the idea of doing a box for the laser cutter assignment last week, so I decide to continue on that track.
Inspiration

Laser etched Alligator and Elephant illustration from our week3 assignment
I also looked at a few links for how to build a light box.
Make an LED Light Box by Get Hands Dirty
instructables - Make an LED Light Box
powering LED strip
After having my plan roughly sorted out, it was time to gather materials. I took a trip to the city to go to Canal Plastics and the Container Store. But I still had to wait for my LED strip and switches to show up from amazon. That was a bit of a hold up.
Materials Used:
Container Store 6x6 bamboo box
Laser etched Acrylic
LED stripe lights
Mini Skater 2 coin cell batter holder + 2 3v coin batteries
Snap in mini boat rocker switch
Standoffs
Acrylic and Enamel paint
Process:
First step was to build a prototype to figure out switch and standoff placements. I was planning to just cut it in cardboard with scissors, but then had the brilliant idea, laser cut it!!!
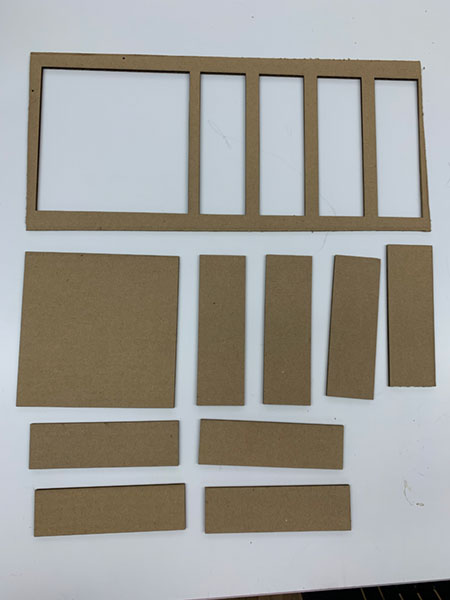
laser cut box prototype pieces
Since there wasn’t much depth to my box, I wanted to make sure my spacing was correct, everything would fit and my switch and standoffs wouldn’t interfere with each other. I also wanted to make sure I was able to handle any reflective hotspots I might have from the LED strip lights.
Using the laser cutter helped my prototype box come together pretty quick.
light box prototypes
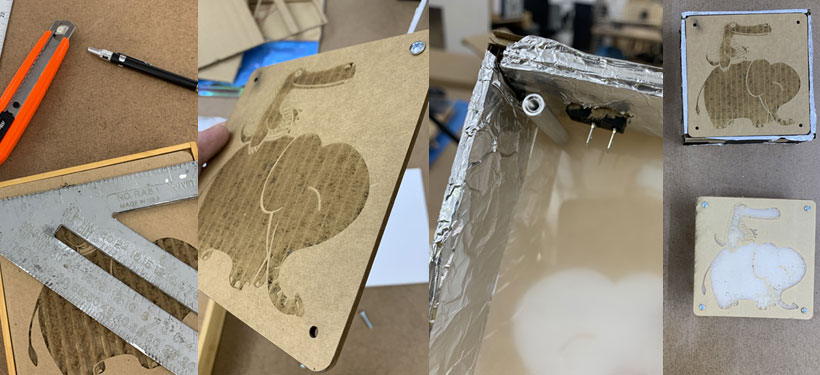
I did another etching on a scrap piece of acrylic so I could add my standoff holes and make sure everything lined up. I also wanted to test the etching through paper to potentially paint the design. I didn’t run the raster job enough and it left me with a lot of burnt glue residue. Cleaning it off ended up being a bit of a chore and actually messed up some of my paper mask.
It was fine for the prototype and I figured I would bring it home and try to clean it further at home. Using a rubber cement eraser did the trick. Thank you to my wife for the great idea.
It all went together well and when I got home my lights had arrived! So I loosely wired everything together and the prototype lit up like a charm.
Part of wiring it up was getting rid of the hardwired AA battery pack and switching to a sleek 2 coin cell battery pack.

replaced 3 AA battery pack with 2 coin cell battery pack
light box wired prototype
With my prototype in pretty good working order, it was time to move on to a production model.
In prototyping I ended up really liking the effect of negative space with the light when leaving the paper on.
I decided to replicate this on the production model by painting acrylic paint over my piece of acrylic. This allowed me to etch away my design and create the same effect with a nice masked out design.
I did take me 5+ coats to get the paint opaque enough and then 4-5 runs on the laser to get it etched and cleaned of residue.
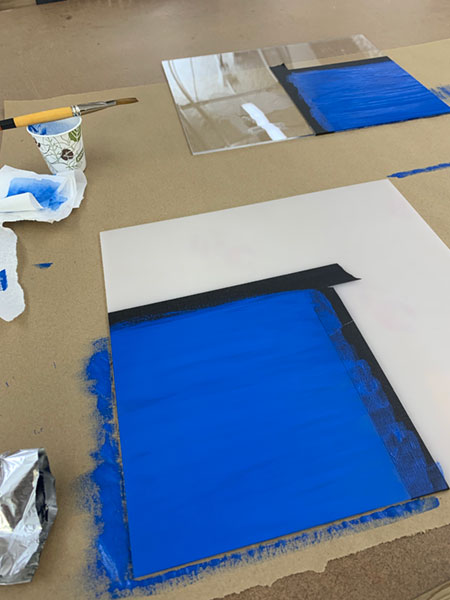
five plus coats of acrylic
Luckily Jackson showed up to help me etch!
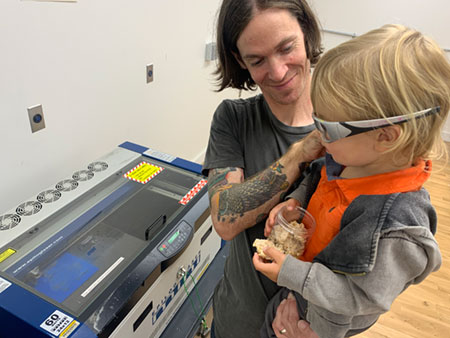
Jackson came to help laser etch
I had two pieces of acrylic that I painted and etched. One was a sample since I didn’t know how it was going to turn out. On the sample I accidentally didn’t cut it all the way out and I had to push out the standoff holes. On the last one I broke the piece :(.

broken acrylic sample
It was especially a bummer because this one was on clear acrylic and when you turn it over you had a really nice smooth finish and it would have been a nice piece on it’s own. Oh well…
With the light box faces done it was time to move onto the box it self.
I needed to:
1) drill holes for standoffs and wiring
2) cut switch hole
3) sand current box finish
4) paint it
5) cut mylar for my reflective inner surface
6) adhere mylar
7) install LED strip
8) install Standoffs
9) install switch
10) wire it up
11) put the cover on
12) discreetly attach the coin cell battery pack to the back
I measured 3 times to make sure my measurements were correct before drilling into my box. I had extras but didn’t want to use them.
It went pretty smoothly and didn’t shred as much as expected.
Then I measured the switch placement and hole. Once I had 2 largish pilot holes drilled I used a rasp to sand out the rest of the space needed for my switch. p.s. I probably should have removed the standoffs… doh.
 sanding switch hole
With holes cut it was time to paint.
I of course picked a spray enamel paint and since the spray booth at school isn’t set up yet. I had to find a dark, wind protected sidewalk to paint on. I only got a few weird looks.
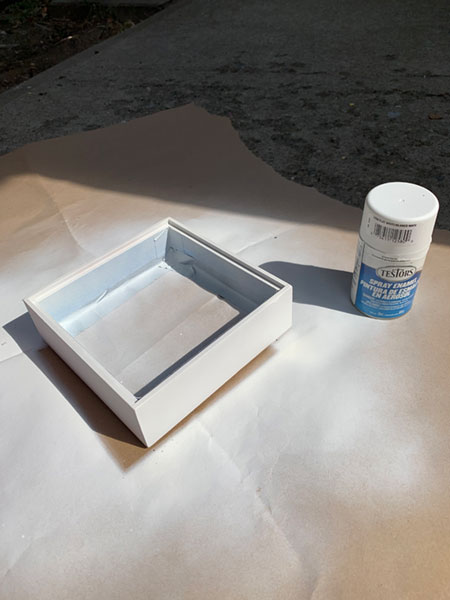
painting enclosure box
I masked the box off so I had nice clean lines and only certain portions were painted. I’m really liked how it turned out and almost didn’t want to put anything in it.
 painted box
Next I had to adhere the mylar. I wanted to add the mylar inside to make sure the box was extra reflective and the design was well illuminated.
Still with no spray booth I really didn’t want to try to spray adhesive the pieces outside. I was able to source a wide double sided tape “board” from the art supply shop across the street and it worked perfectly. I just cut the pieces to size and boom I had a mirrored box.
 mirrored box
Once I had the mylar installed the standoffs, switch, and LED strip install without a hitch.
And although it was a simple circuit, I had a few hiccups at the final steps.
1)My battery packed died!!?! It was just working and halfway soldering in it was dead. I did cut and strip the wire shorter to have less excess inside the box and I think that broke a wire.
2)On my second battery pack, testing power all the way through… I get to the last step and… it doesn’t work. Then I remembered duh, it’s a diode, polarity. Luckily everything wasn’t final soldered and I was able to correct it relatively easily.
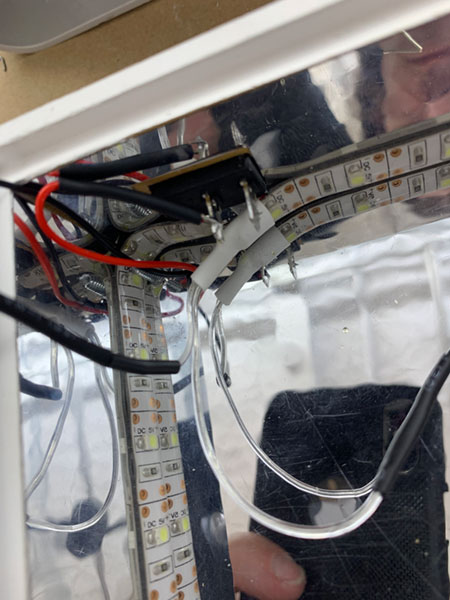 light box wiring
With wiring sorted the lasting things to do were to install the battery pack on the back and attach the acrylic design.
And I was done.
 final light box on lazy susan
Mistakes / Hiccups / lessons learned:
1) etch multiple times when etching away a material (paper / paint etc)
2) careful working with acrylic. It can break easily.
3) test test test before soldering
4) confirm wiring of components.
5) remove components when sanding to prevent unnecessary cleaning steps
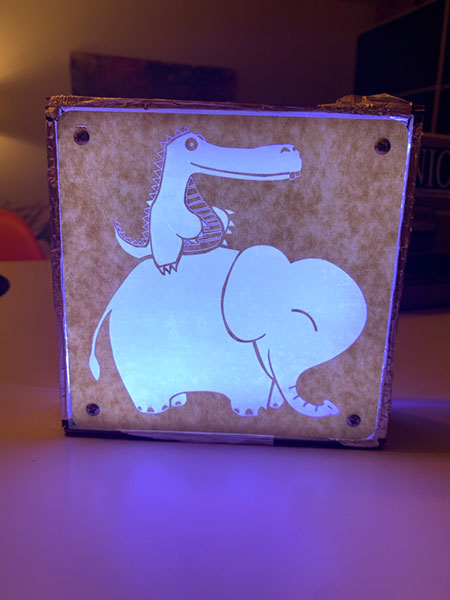
Final Gatorphant Light Box
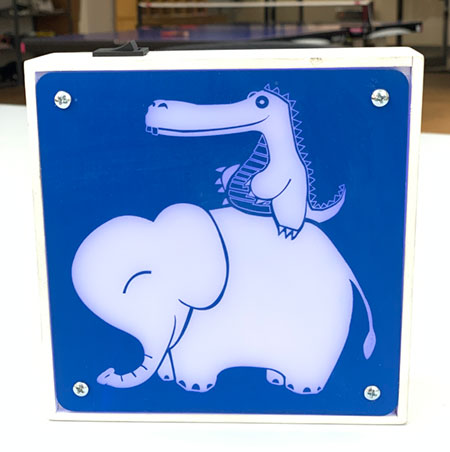 final light box