Build 5 Cars
17 Sep 2019 - Jake Sherwood
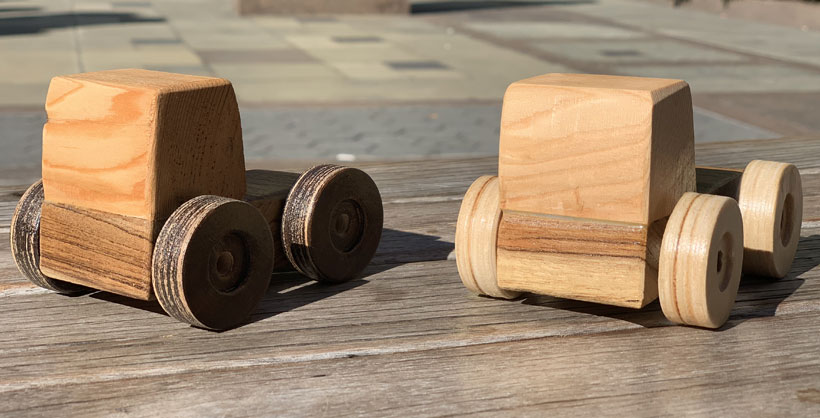
2 cars from build 5 project
Intro to Fabrication WEEK 2 - Build 5 - Cars??!?
Our second assignment was a study in repeating a process with a focus on an efficient order or opperations…
My idea, build 5 cars for Jackson… it’ll be easy right… I almost thought it would be too easy. I was wrong. Honestly halfway in, I contemplated changing my plan to a different idea. But I decided to stick it out… and I’m happy I did.
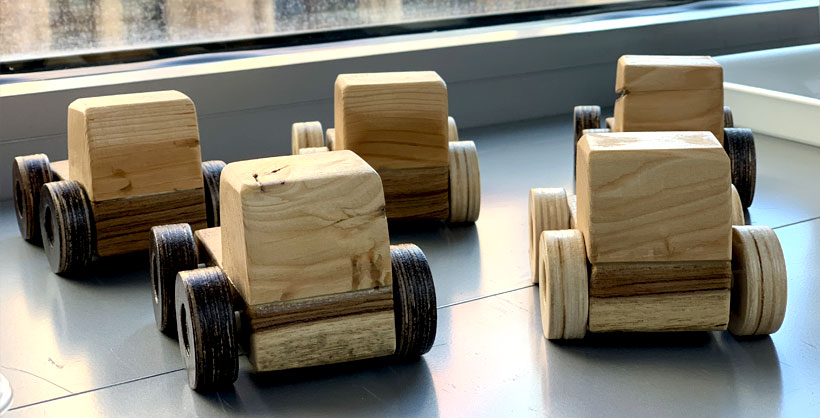
fleet of 5 wooden toy cars from build 5 project
As with my previous fab project I wanted to try to find/reuse materials. I was able to find a decent amount of material. The quality was a little questionable. One lesson I learned with this assignment was, maybe I want to buy better materials going forward…
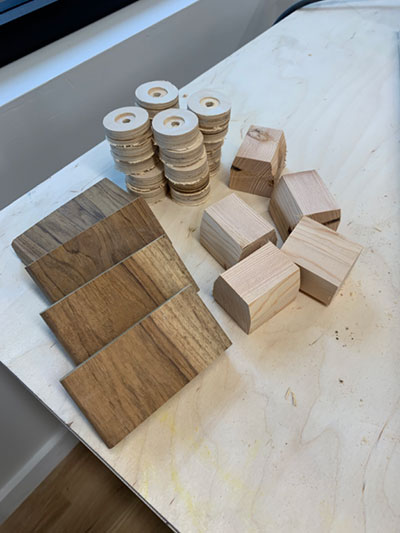
Materials Used:
found wood
purchased 2 wooden dowels
wood glue
sandpaper
water based stain
water based clear coat
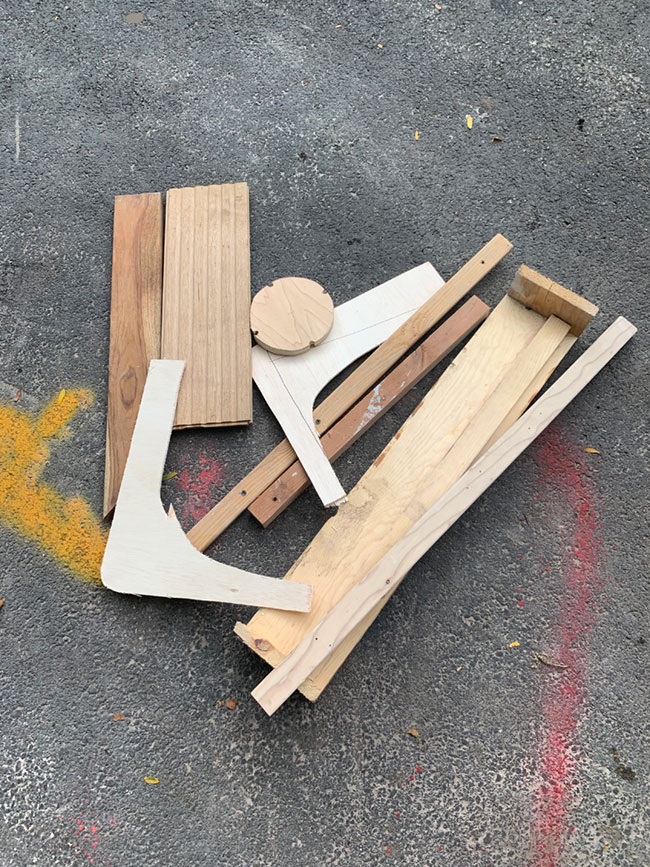
build 5 toy cars materials
Process:
I sourced materials, so next step was to figure out what I wanted it to look like.
After a bit of sketching and feedback from a few people I decided on a boxy truck type design. A sure winner with Jackson, who loves trucks.
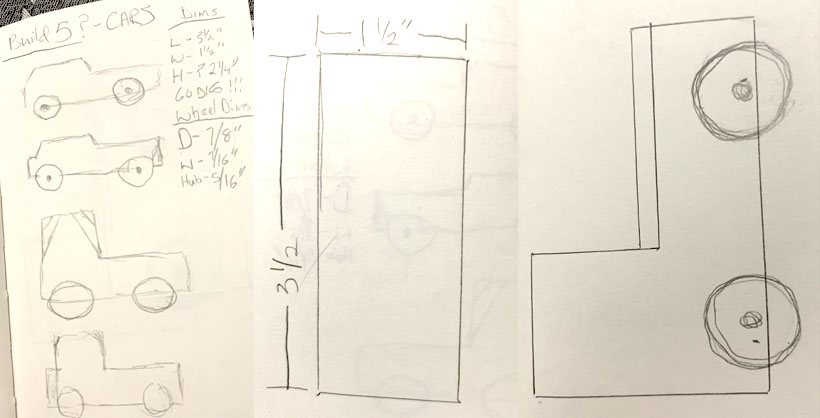
build 5 toy cars sketches
On the advice of Ben, I looked up the wheel how to on the Intro to Fab site. It seemed pretty straight forward and was a big help in getting me going and making nicer looking weeks.
Before I got too much further I needed to think about my order of operations.
Again after discussing with a few friends, I laid out an order of operations like this:
1) Make wheels:
a. measure out space and mark center point for wheels.
b. use drill press w/ forstner bit with partial material depth set to create hubcap/wheel.
c. use drill press w/ hole saw drill bit to drill out the wheel.
2) With belt sander and table on an angle, add bevel to truck cab. (Prior to cutting.)
3) Set up stop block on miter saw to cut truck cab & body equal widths.
4) Use doweling jig to drill axel holes in truck bed.
5) Glue and clamp truck cab to bed. Leave to sit overnight.
6) Measure and cut dowel for use as axel.
7) Sand everything.
8) Paint / stain everything.
9) Assemble trucks.
Challenge 1 - Wheels
Step one, while it had a few “moving parts/steps”, seemed easy. It proved to be quite time consuming.
First my material ended up being pretty crappy. As soon as I started using the hole saw the material started splitting.
Luckily I was able to source a replacement piece of material from the floor scrap… nice.
I remeasured and began my cuts again. I started off doing all my forstner drillings first. Just so I didn’t have to switch bits over and over again.
Once that was done I start with the hole saw. Better luck this time, but I still needed to do quite a few steps for one wheel.
1)Set up hole saw in drill press
2)2 drill presses
3)Clean saw dust to prevent / reduce burning
4)2 presses again
5)Clean
6)1 more press and I had a wheel
7)Remove hole bit
8)Put bit in vice
9)Hammer out wheel from bit
10)Put bit back in drill press
11)Line up next cut
10) Repeat…. FOR 20 WHEELS ???!?!???
Up and down… up and down
making wheels on the drill press
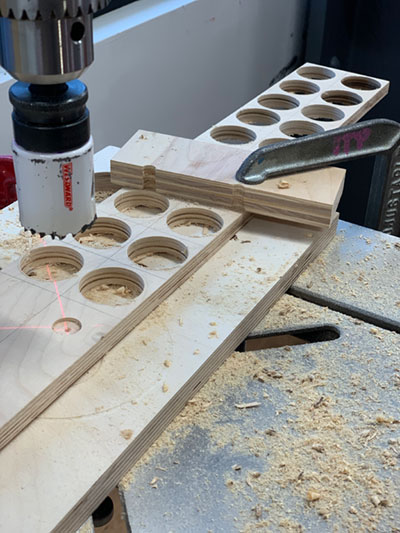
cutting out wheels on the drill press
Removing the wheels was it’s own problem. I was having issues with damaging the wheels when I was getting them out of the whole saw. I ended up fashioning a tool to make it a bit softer on there material.
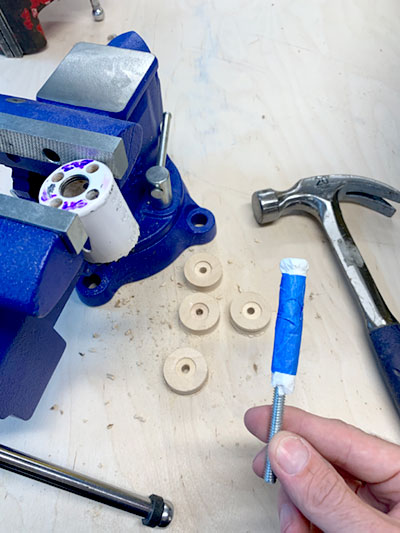
wheel removal tool
Even with with the softer removal process the material was still splitting. I had to do a round or wheel repair.
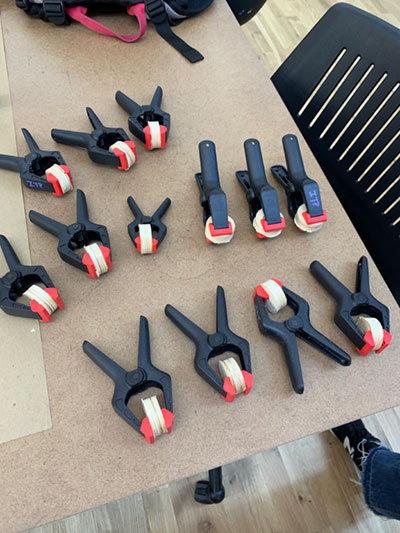
wheel repair
A little bit of wood glue and a few ours in the small clamps did the trick.
After the wheels the rest of my cuts were pretty simple.
I used the belt sander with the table on an angle to add the bevel to the cab. I used the miter saw with a stop block to cut my cab and truck bed to equal widths. I used the skill saw to cut my wooden dowel for my axels.
Once I had my material cut, I used the doweling jig to cut my axel holes in the truck bodies.
cut car parts
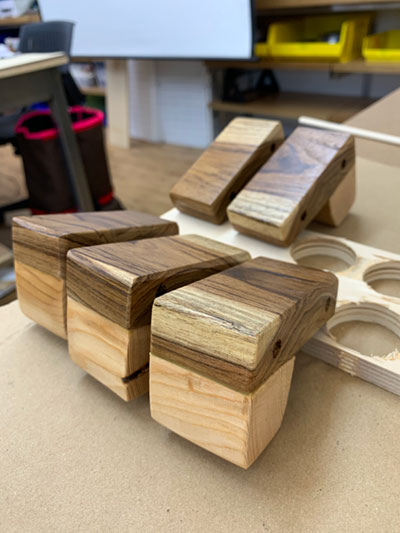
With my final body part cuts made I did some rough assemblies. They looked pretty cool.
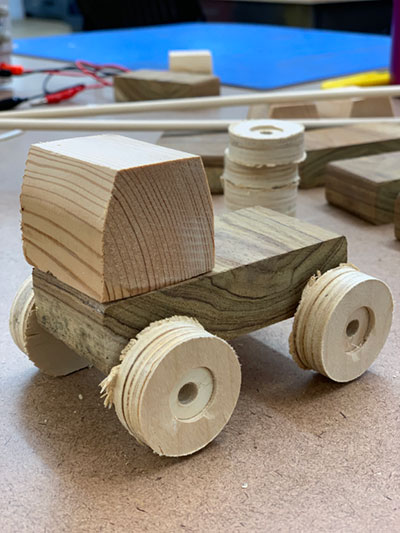
rough car part assembly tests
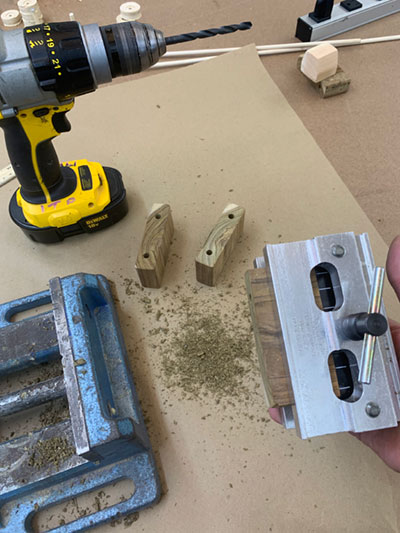
doweling jig used for axels
Oddly some of my holes actually got crooked. I’m not really sure what happened but I guess those are my pancakes.
Glue time.
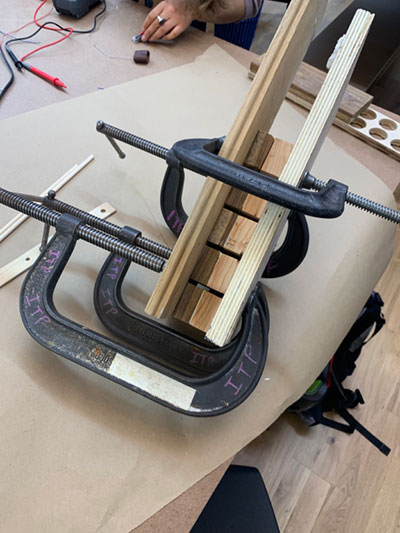
glueing truck cab and body
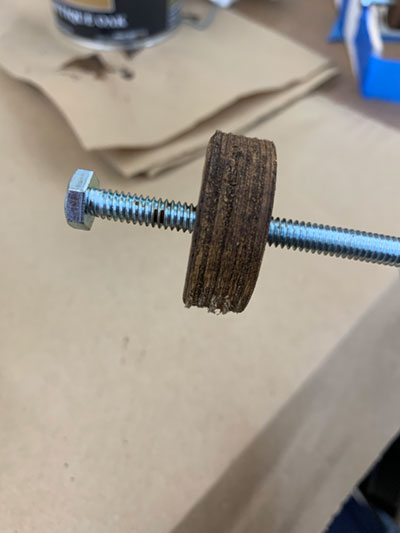
Time to Sand. Chucking up the wheels on a bolt in a drill really helped with wheel sanding.
sanding car wheels
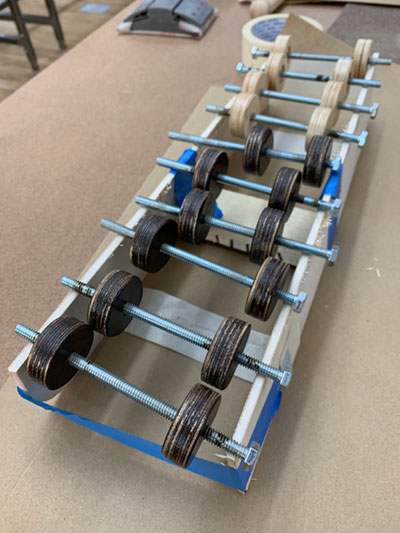
Cab and body glued and axel holes drilled… let’s do roll tests.

car role test
With sanding done I did a few quick stain tests. I wanted to use water based finishes so it would be better for my son.

stain tests
I decided to just do clear coat on the body but was torn between staining wheels or just doing clear coat. So I did both.
Challenge 2 - Staining
Unfortunately, I didn’t clean the wheel well enough and they picked up a bunch of dust / texture when stained.
wheel stain problems
Back to the wheel sanding drill setup. And this time before refinishing I made sure I thoroughly cleaned the wheels.
Also the sanding process left some lines on the stained wheels. I liked it and others agreed. So I just left them that way. Happy little accident…
Another round of painting and drying.
bodies clear coat drying
wheel stain drying on makeshit drying rack
We’re finally ready for final assembly.
5 toy cars
Lessons Learned
Buy better materials.
Make sure you have clean sands before staining.
Think about full project scope and time required before biting off more than you can chew
I’m very happy with the way these turned out.
I probably spent WAY too much time on them, but hopefully they’re a hit with Jackson.
In the future I may play with adding a motor to these, or 3d printed wheels, or use them for some stop motion animation.