Solarbloom progress
12 Apr 2021 - Jake Sherwood
 Solarbloom progress
Solarbloom progress
Progress:
Sunpower build 1:
This week I made good progress but not with out a few trials and tribulations.
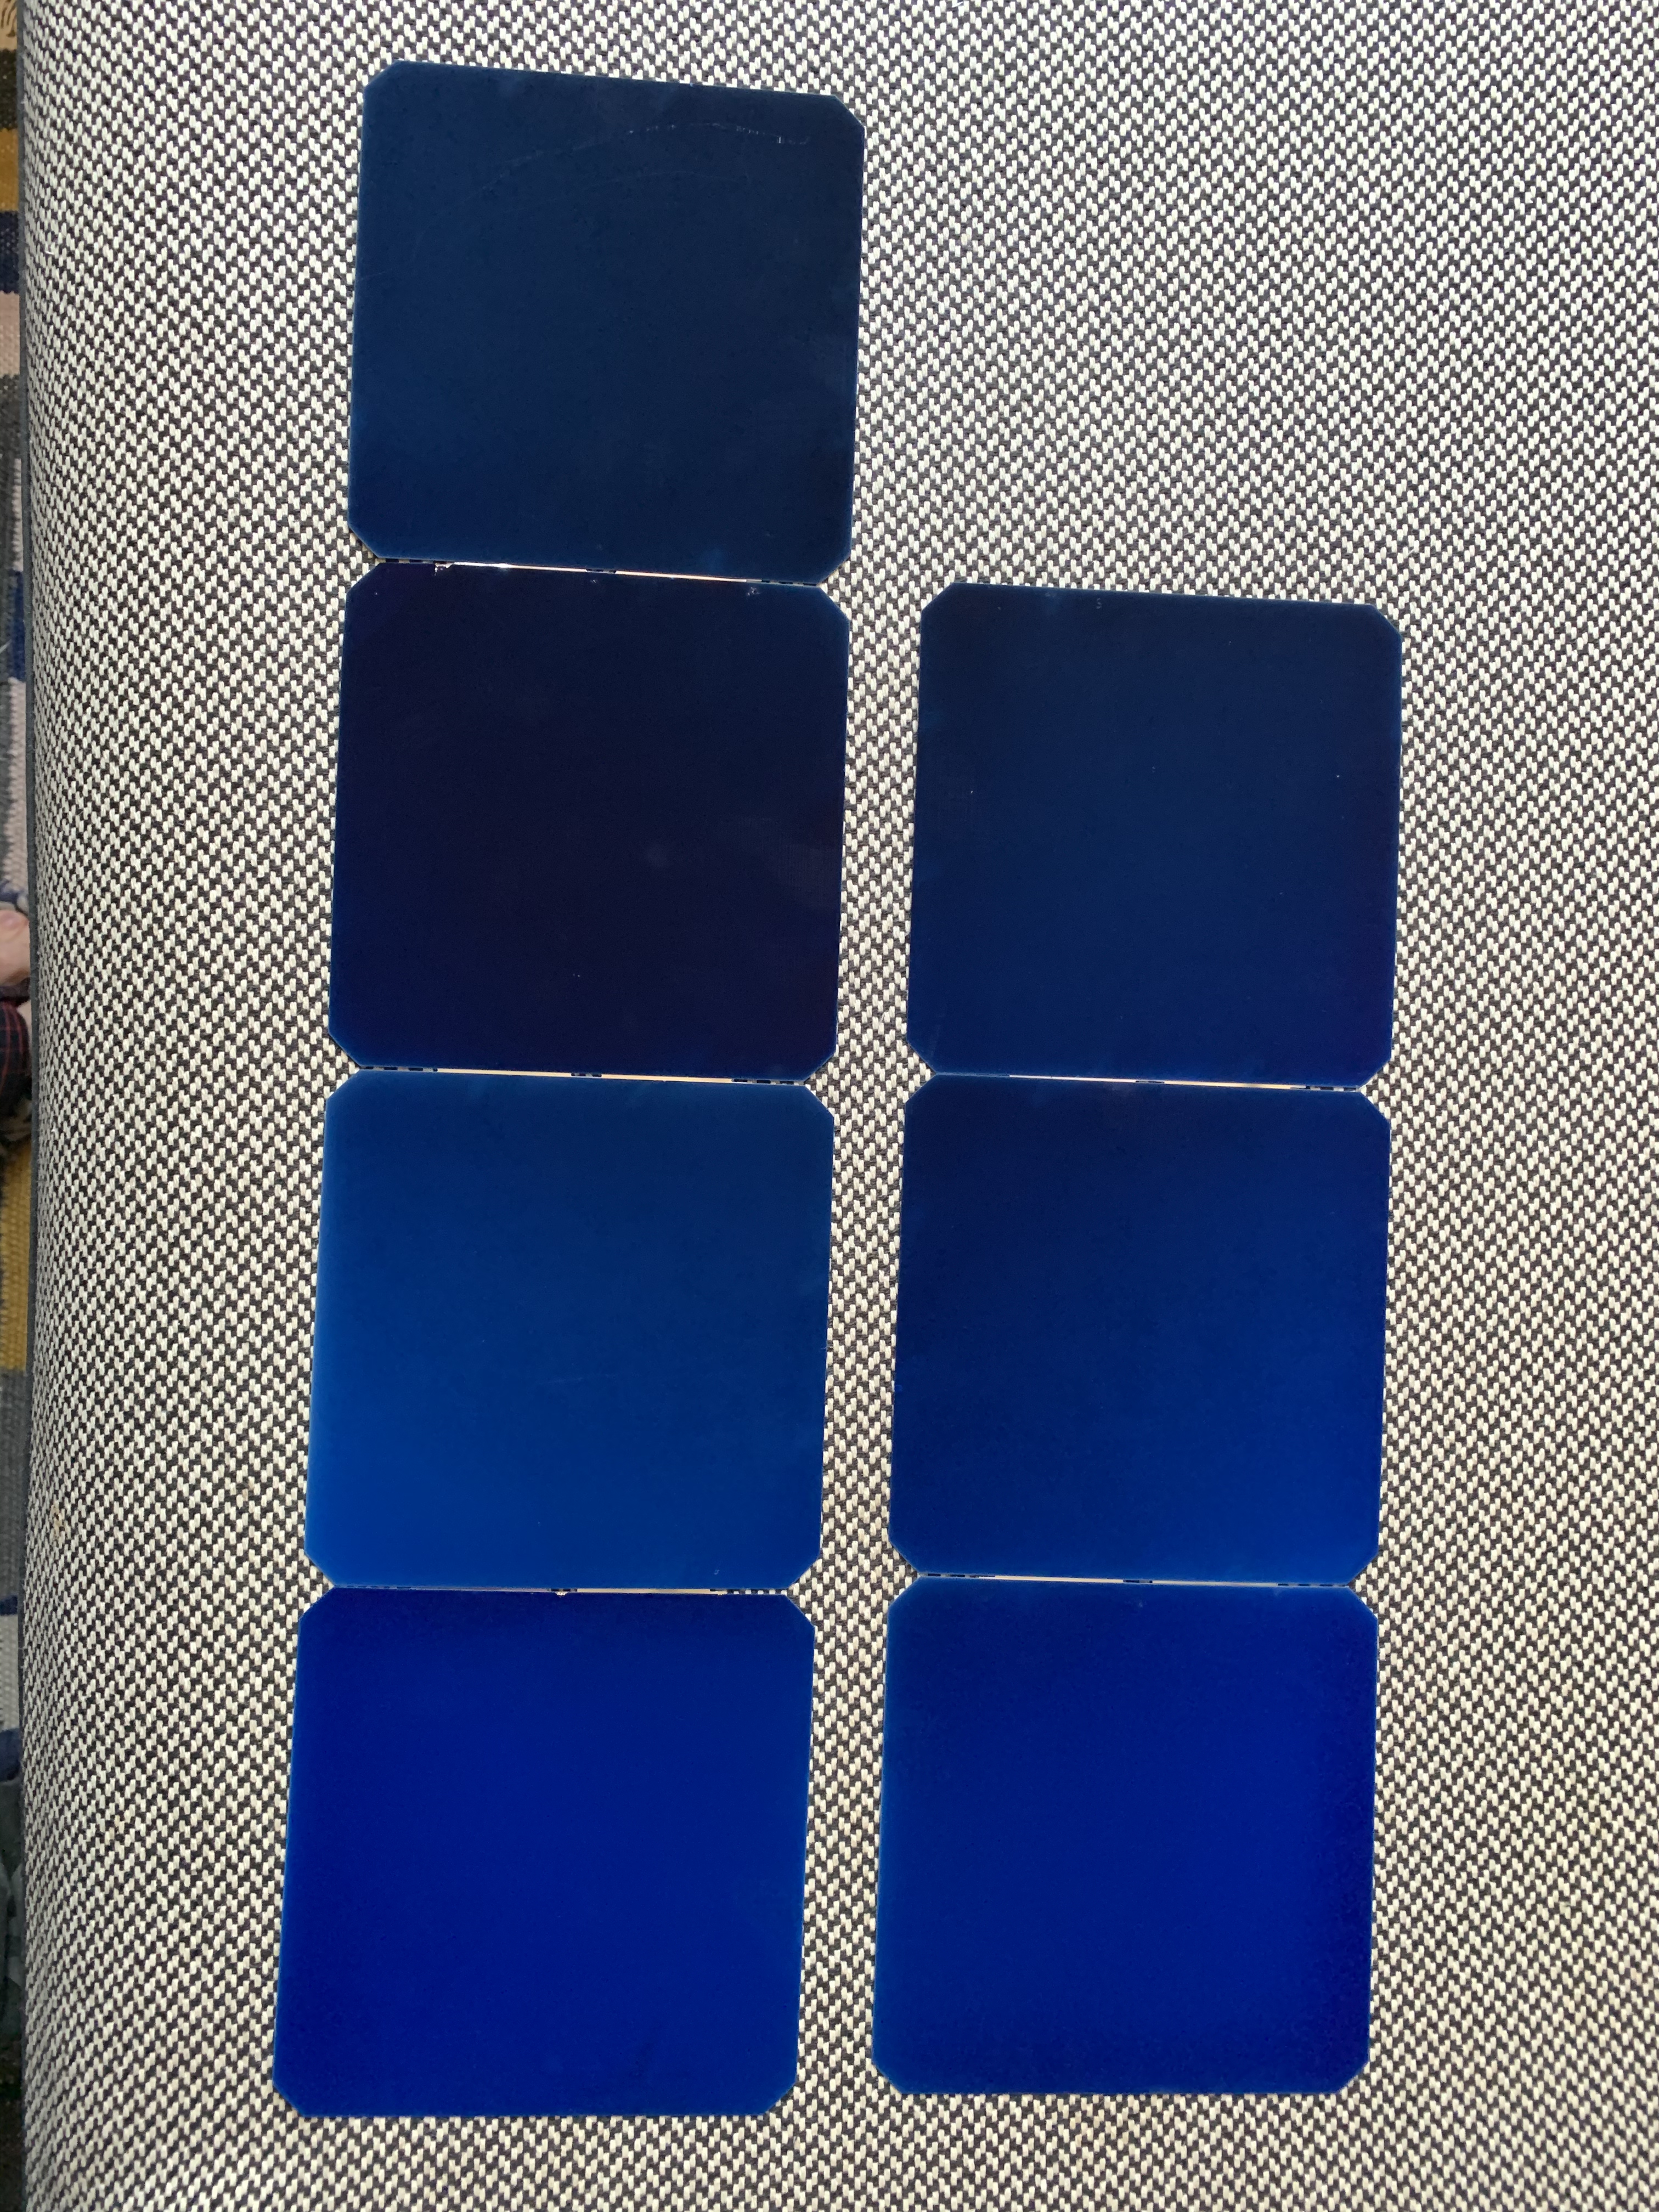
I got my Sunpower solar cells and found a great walk through video on how to solder them up. A few things its missing though is the final wiring and how best to cover them for some protection.
After watching the video a few times I had the process down and once I put the proper soldering tip on things went relatively smoothly.
Unfortunately one cell arrived broken, and I ended up shorting two, I think too much solder, I only ordered 10 and needed 8! Arg. Ordered more hopefully they show up.
Currently I have one 4 panel array producing ≈ 2.2V and one 3 panel array producing ≈ 1.6 volts. Hopefully when I get one more and some sun on them they’ll get up close to 5V.
I still need to figure out the best way to combine the 2 4 panel arrays in series and how to wire them up to connect to a solar charge controller.
 sunpower front 7
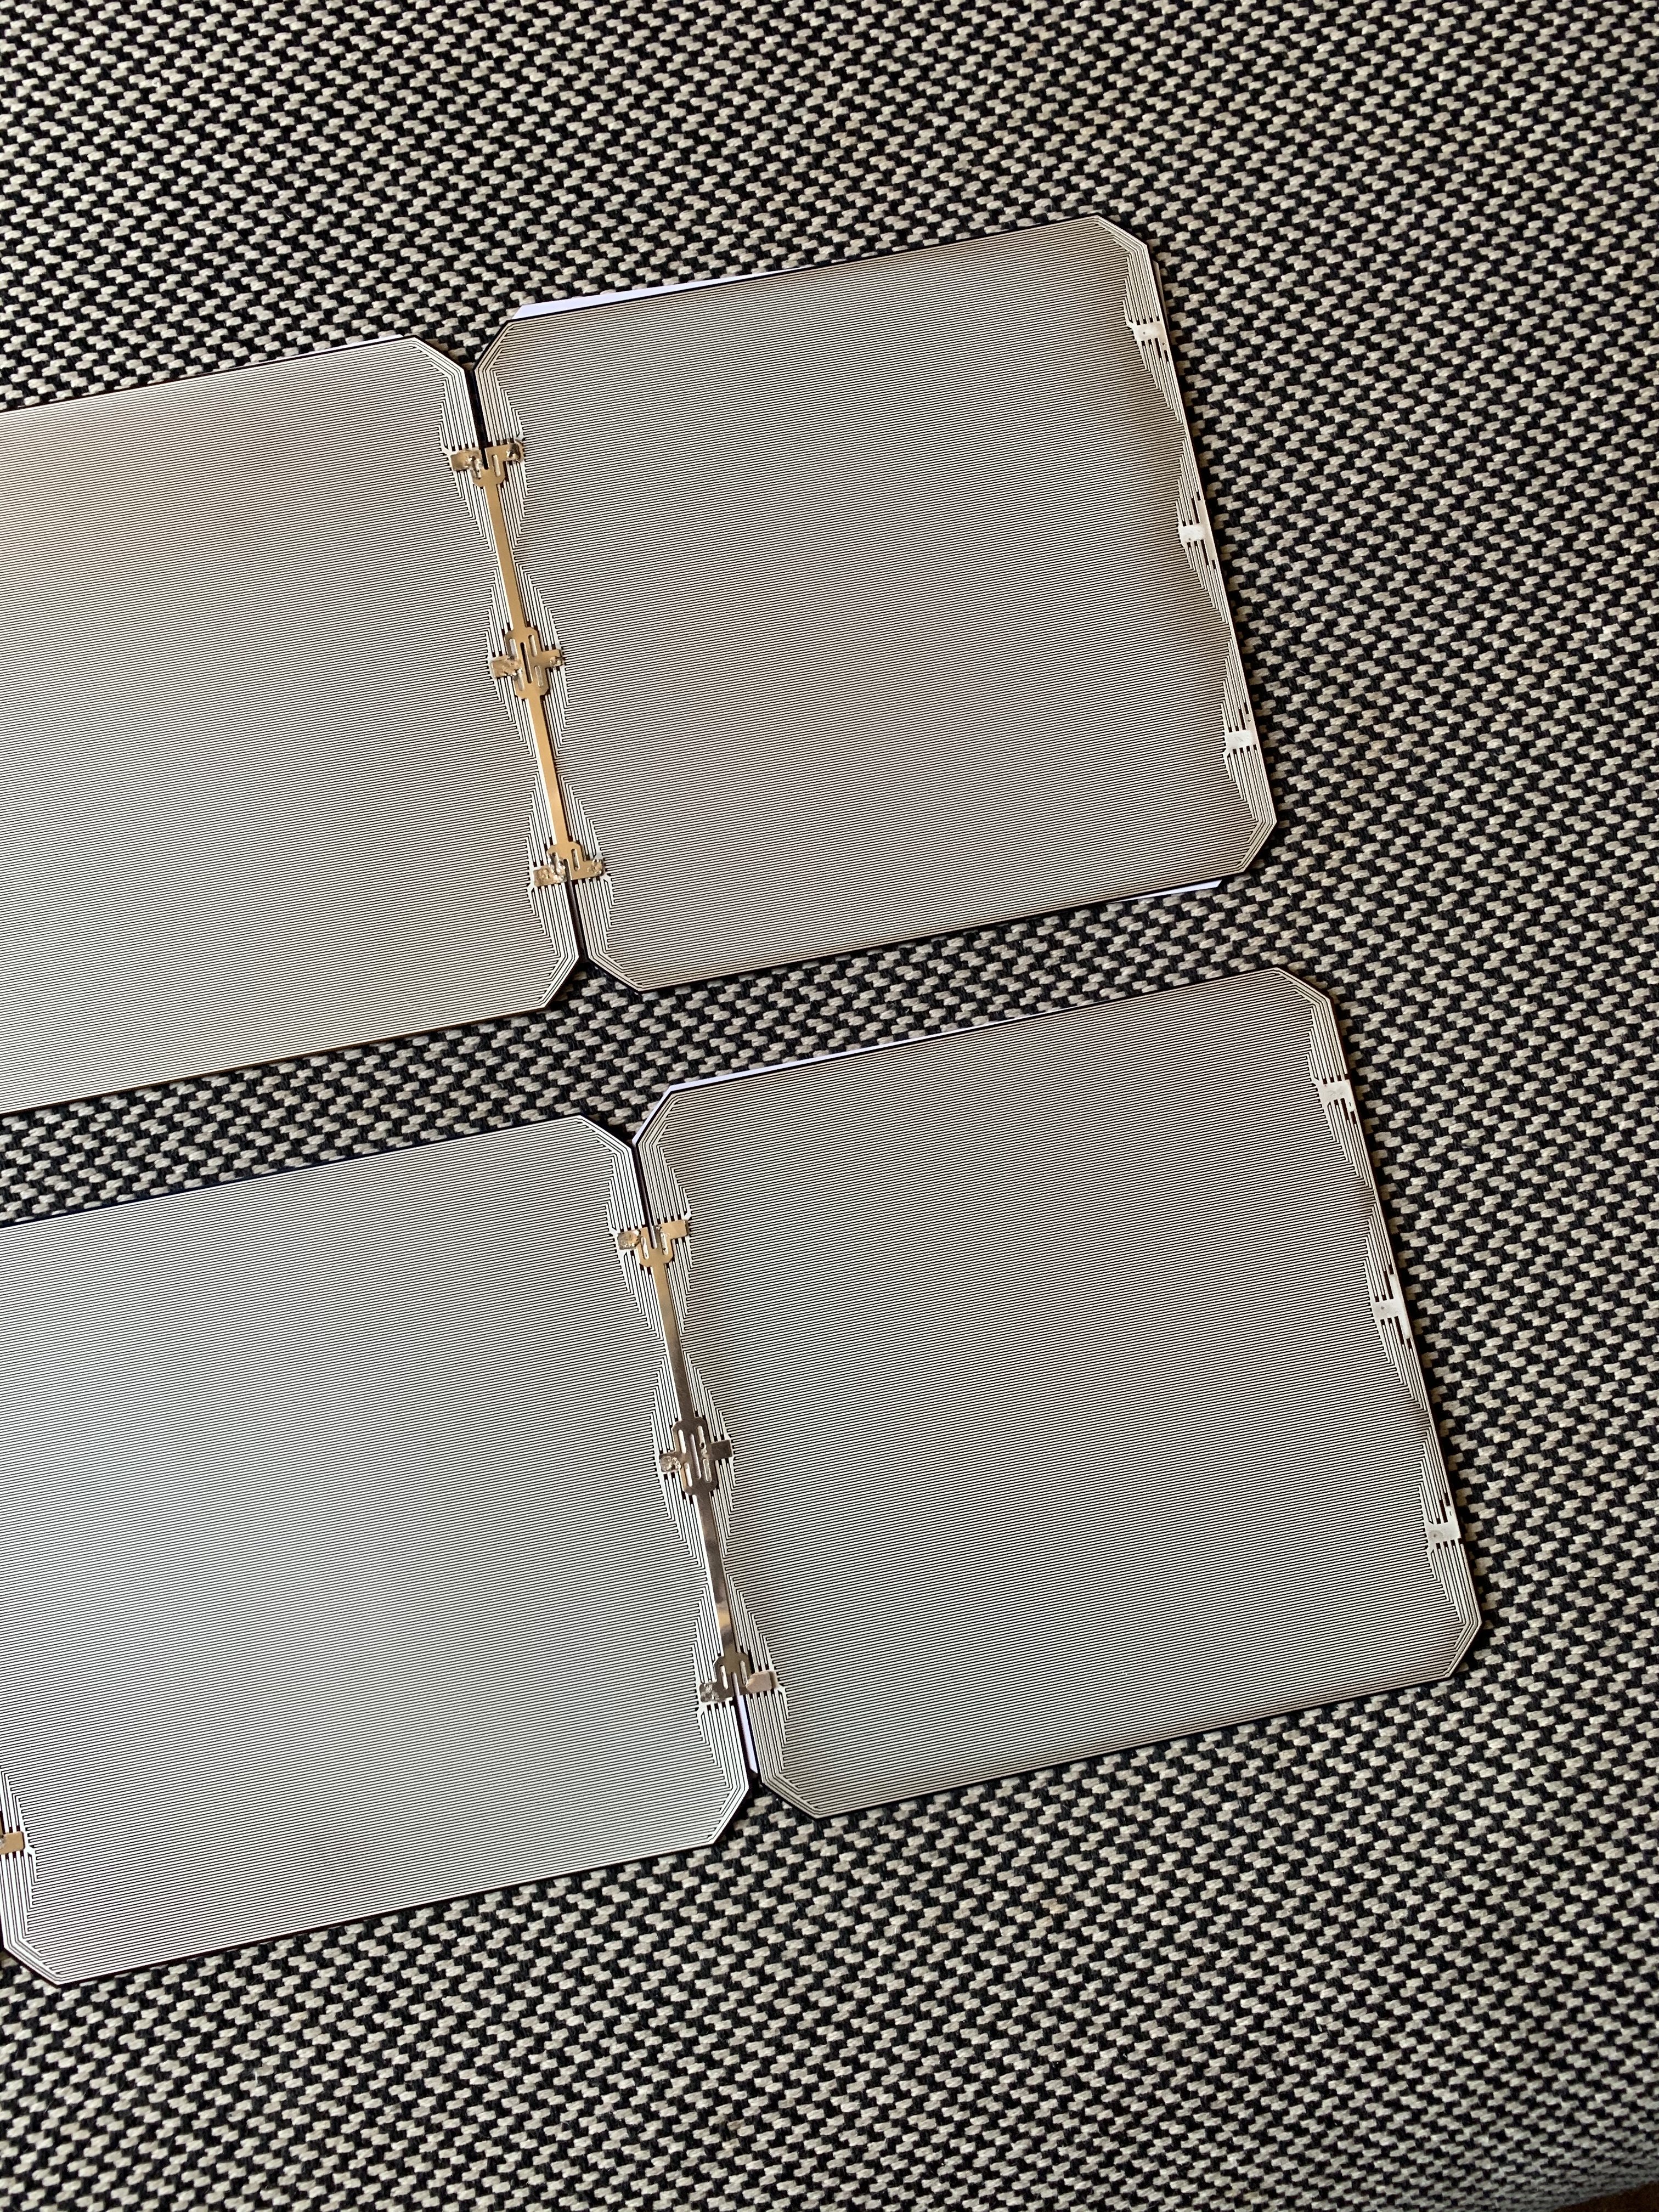 sunpower back close up
Also while these things are advertised as being more durable than traditional cells they are still quite fragile. I need to figure out how to add a protective cover to the front and the back…. why again did I decide to build my own cell???? ¯_(ツ)_/¯
At least I got this cool timelapse.
 Sunpower build 1
So a few more parts and hopefully I can start powering / testing some stuff.
Power / Battery calculations:
Here is a rough energy budget based of the Voltaic website and some help from Brandon’s blog.
To get 5V I need 8 Sunpower cells, 0.65V per cell means 8 cells ≈ 5.2V and an ≈ 28.8 W Panel (3.6W per cell).
In my prototype, to move the servo with proto flower it takes about 160 mA or 900 mW.
I decided to use a Teensy LC instead of Arduino pro mini for less power draw. It comes in at 87 mW | 17 mA standby or 31 mW | 6mA in sleep mode with the Teensy Snooze lib.
31 mW / 5.17 = 5.99 mAh ≈ 6mAh
≈ 6 mA / hour in standby or 144 mAh a day
680 mAh battery / 144 mA a day ≈ 4.77 days
680mAh * 3.7V / 1000 = 2.5Wh
So according to Voltaic its gonna charge up pretty quick.
2.5 Wh / ( 28.8 W * 2 ) = .043 hours to charge? (≈3 minutes)
Is this safe?
I’m still not sure how to factor in the 340mA or 1800 mW needed to open and close the flower, will that just be powered straight from the solar panel? What happens to all the energy the panel is collecting if it is not being used?
I’m gonna need some office hours.
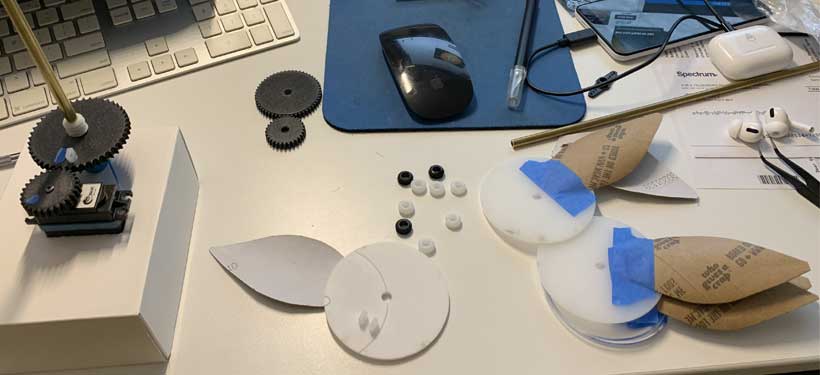
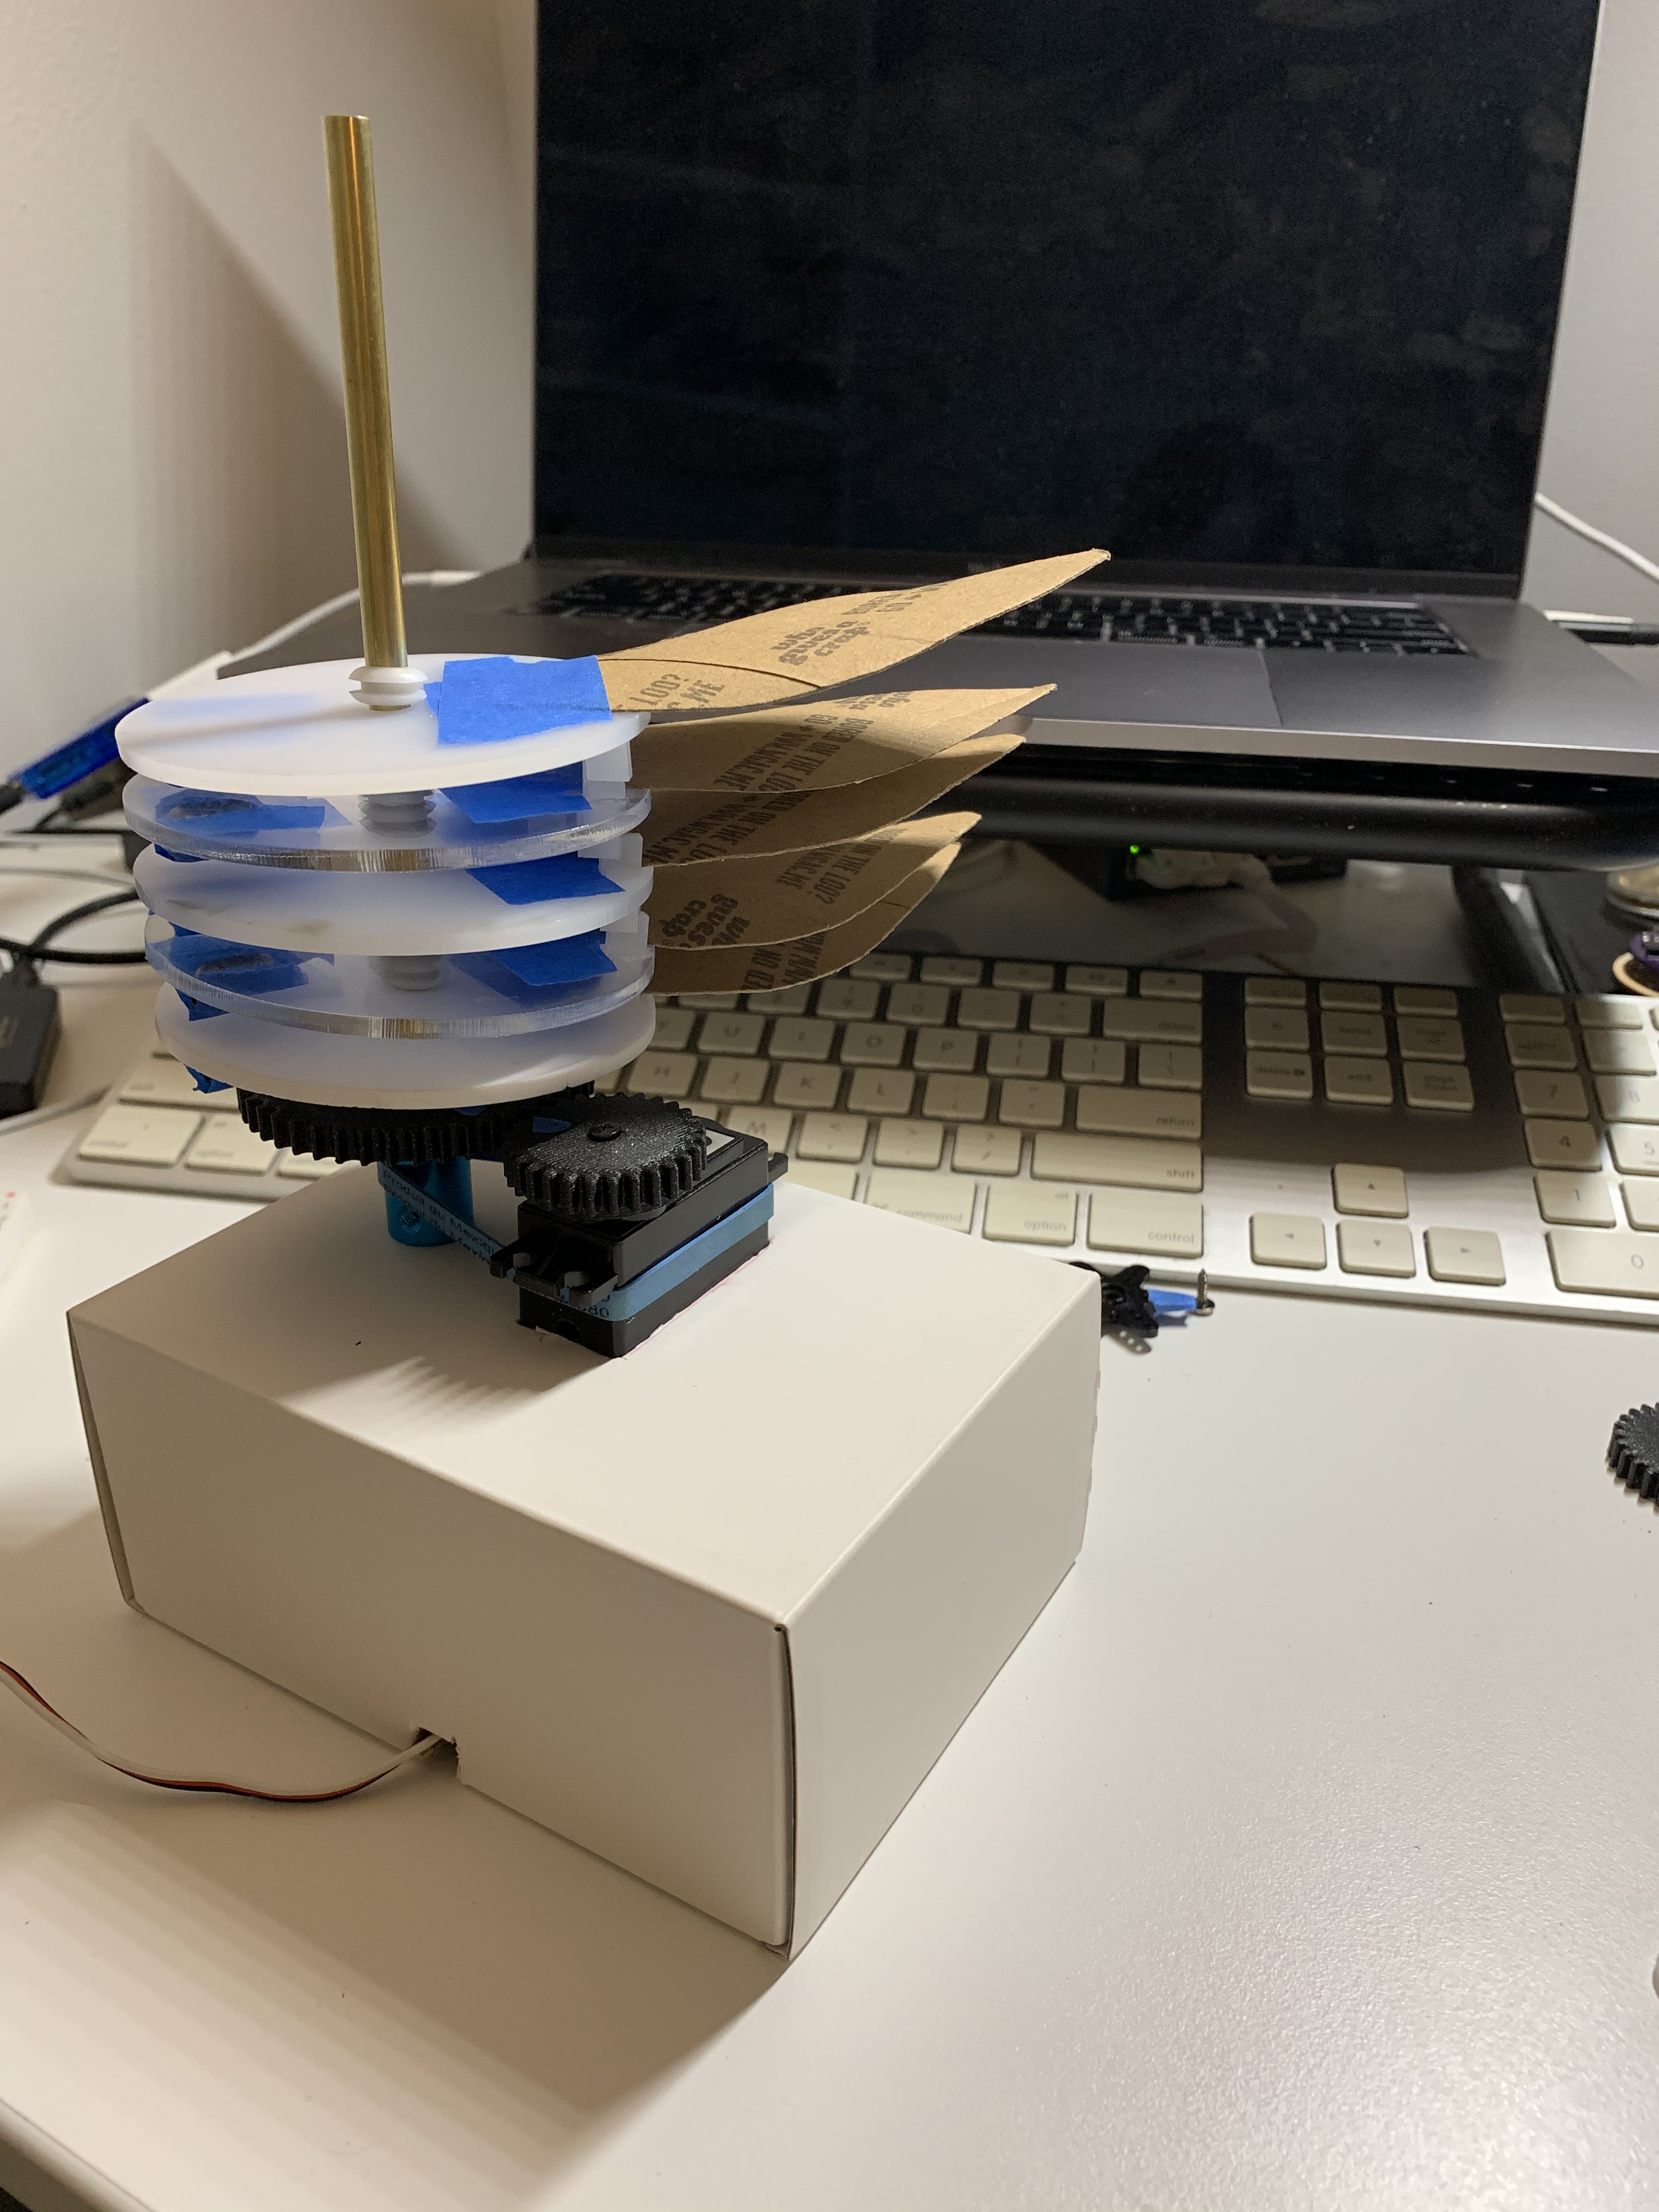
Solarbloom prototype
I finally proved out my mechanism with a prototype flower bloom. All the way through this I wasn’t sure if it was actually going to work. I still need to account for larger petals and more weight, but hopefully it will scale.
I modeled and 3d printed some gears and then spent a bit of time figuring out the tab placement.
Final adjustments will need to be made for proper spacing on full bloom but overall I’m pretty pleased that that the mechanism is at least working.
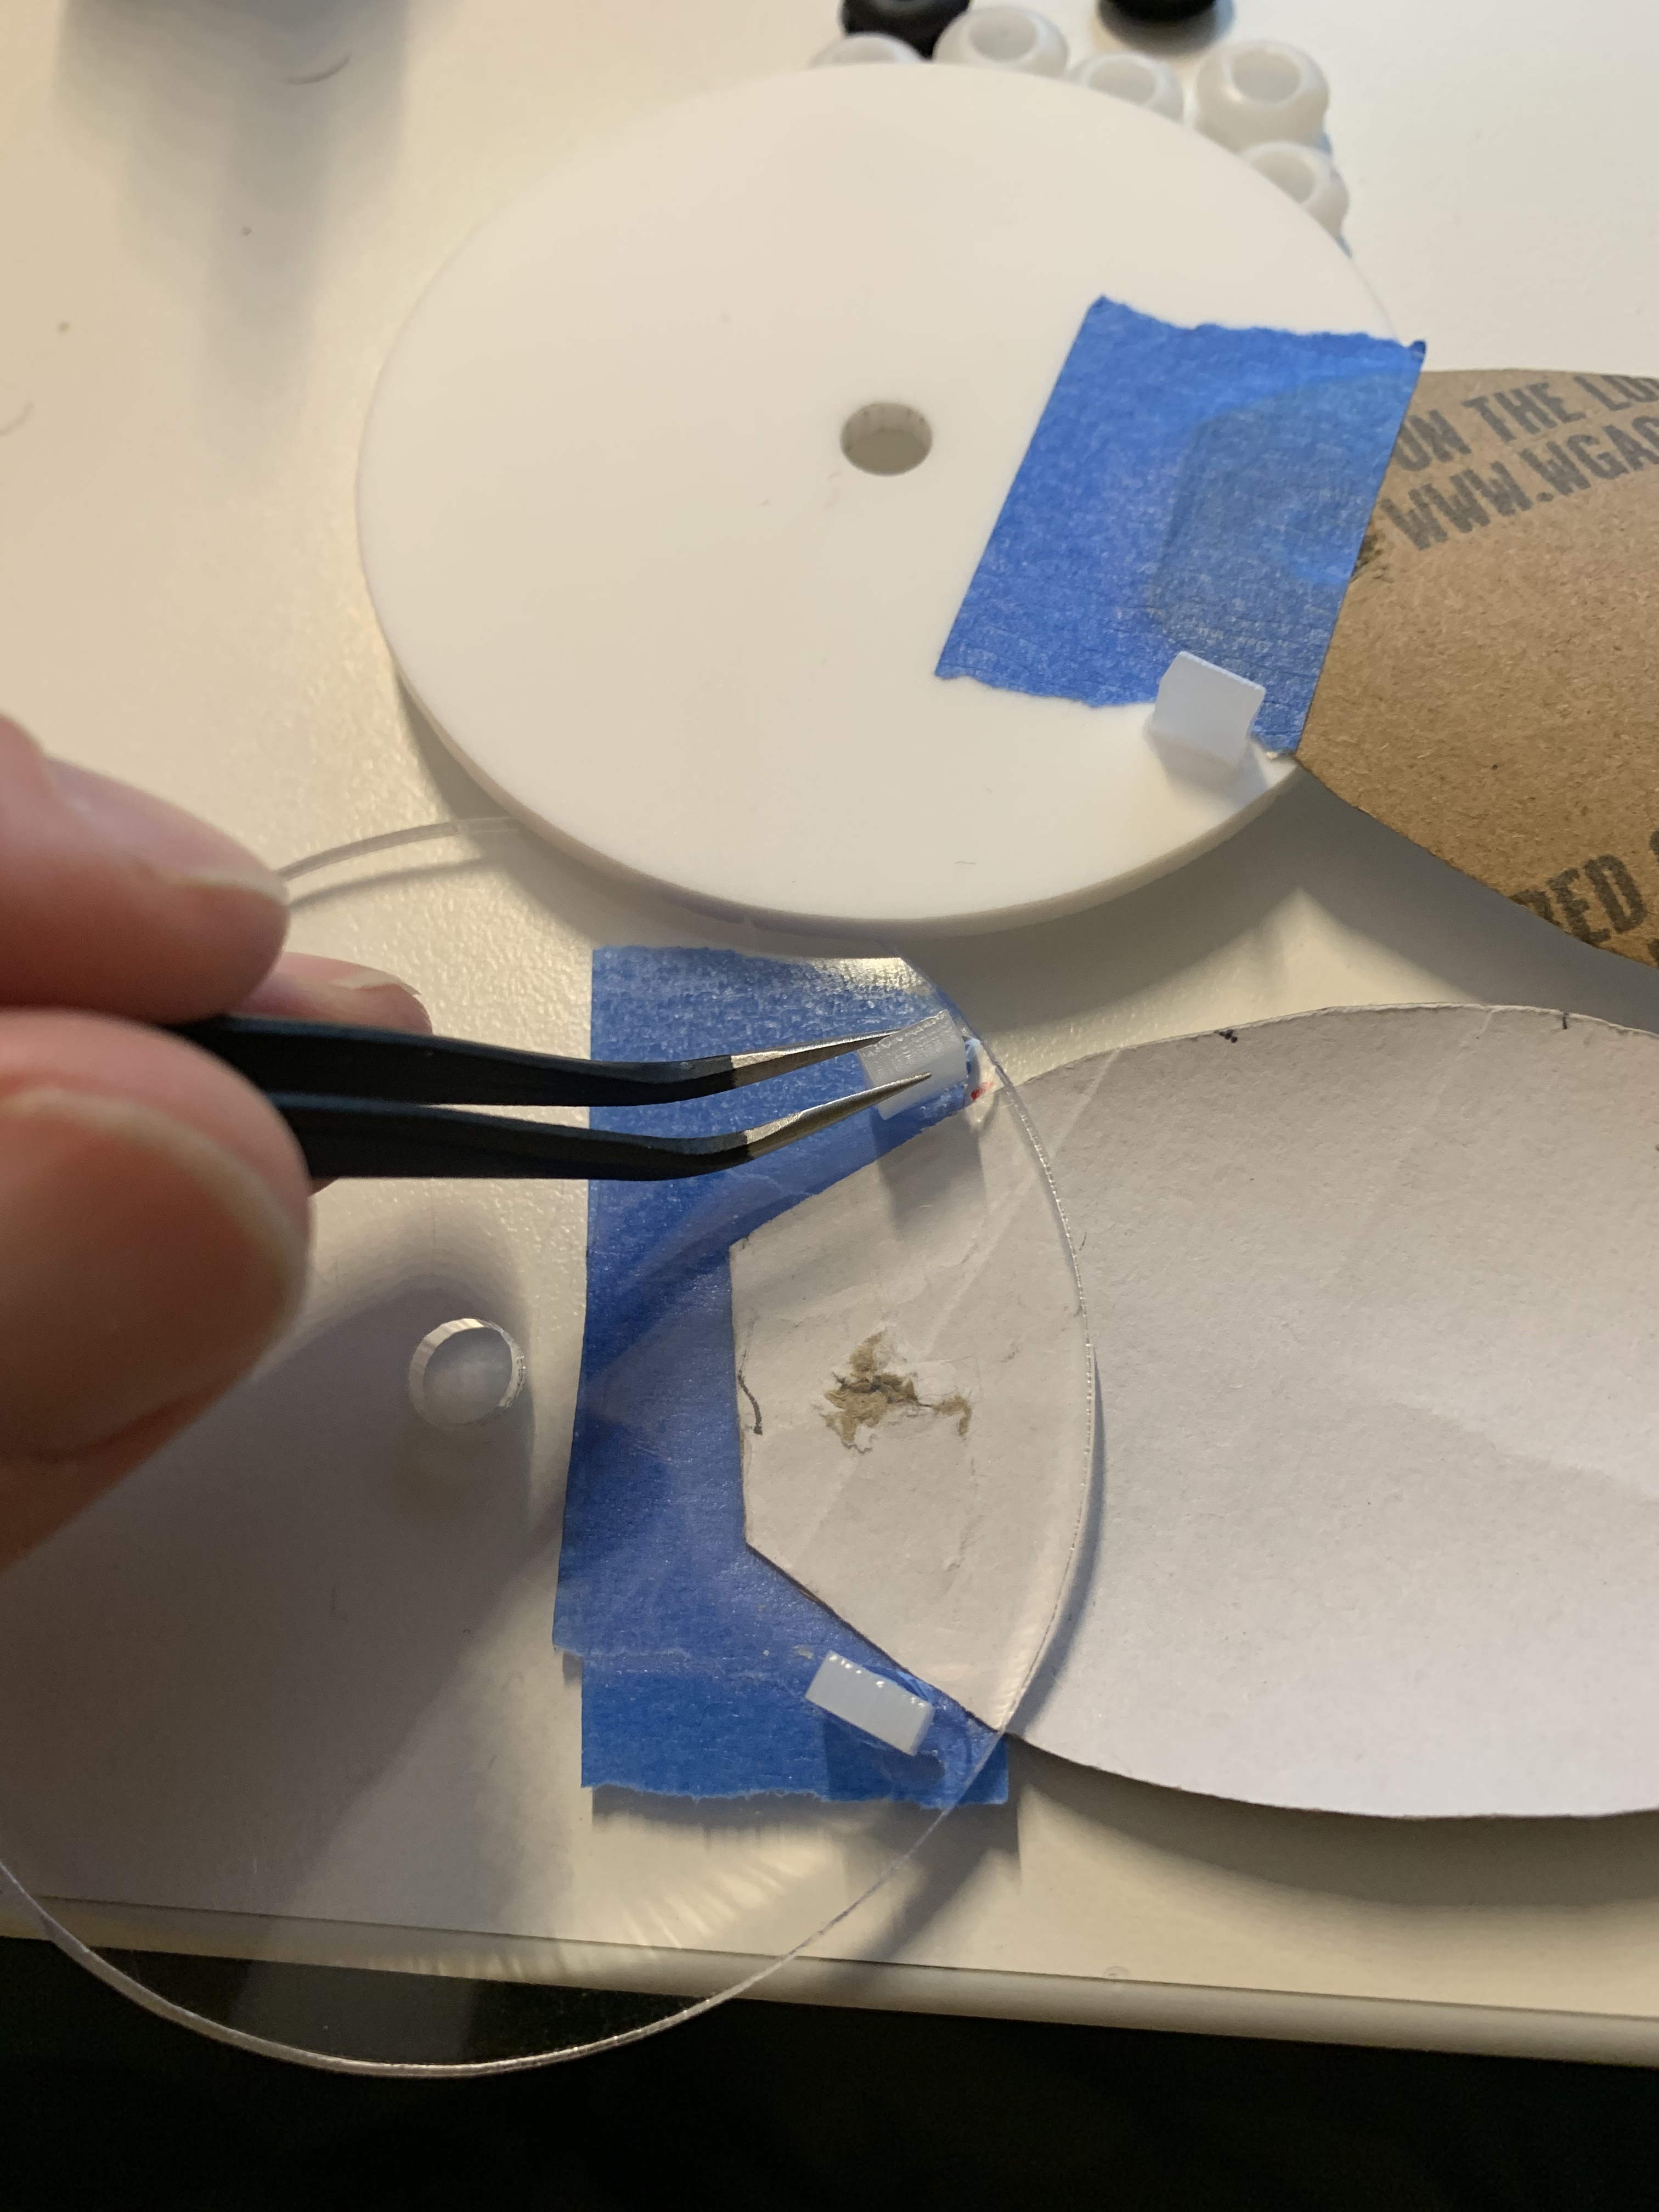
I had to add counterweights on the back of the petal discs and 1.5 rubber groments between each petal.
 solarbloom prototype stack
 solarbloom prototype tabs
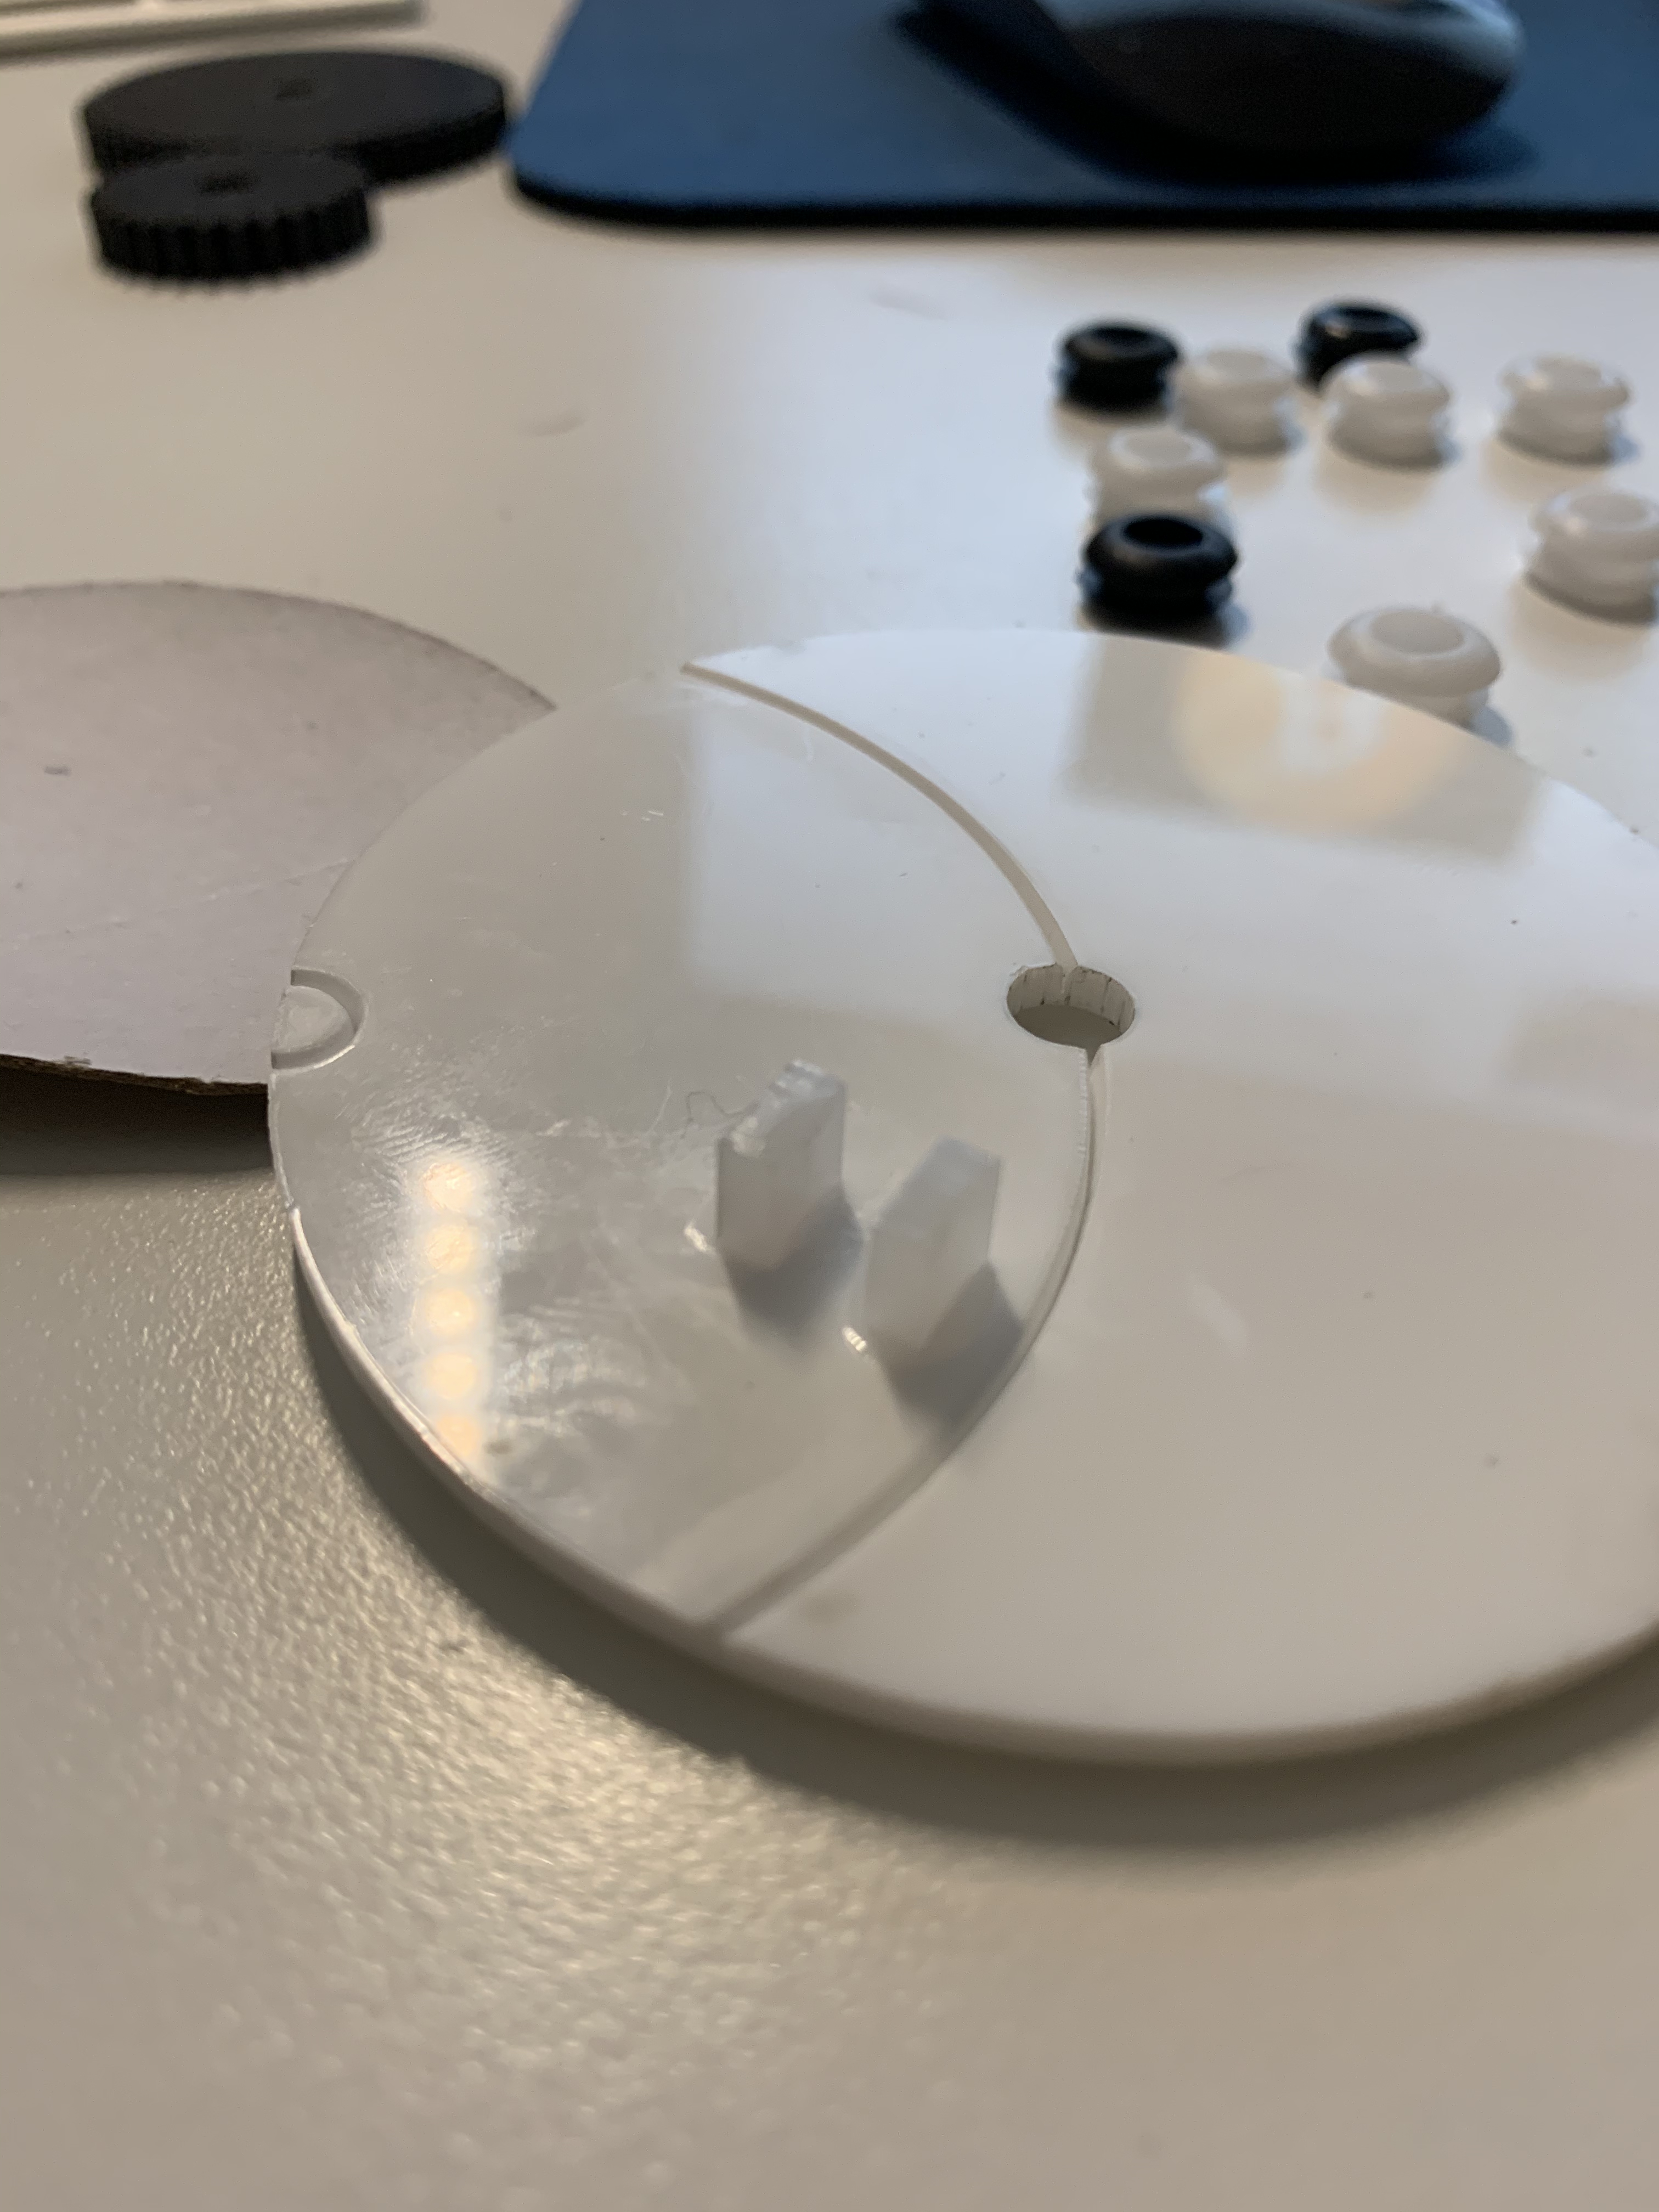 solarbloom prototype tabs close up
IT WORKS!!!!
This week I hope my additional Sunpower cells show up and I can wrap that up, I can test some heavier material panels and work with my mom to see if glass petals are an option for the version I’ll be turning in for class.
I also plan to add a light sensor to the prototype circuit.
Also here is my ever changing BOM.
Bill of Materials